Power Tools for Women. Review; Ryobi Tool Set.

Ryobiset

I am a handy woman but I wasn’t always.

I remember the first time I needed a piece of wood cut but my husband wasn’t home to do it for me. Then I thought to myself “my husband isn’t here to do it for me?!!! Why can he do it but I can’t?!!!”

So I went into the garage and looked around for what I thought was the tool I needed for the job.

It was electric.

Plug it in.

Draw line on wood where I want it cut.

Hold it steady.

Pull the trigger.

Wow! It cut the wood! Oh my gosh I cut the wood!

I was cutting all sorts of things after that. Its so funny, one minute of teaching myself how to use a “man’s” tool opened up my whole world.

My husband sure does regret not being home that day because he hasn’t had his tools to himself since! HAHAHA

Since then I have evolved a little. I started with some no name brand jig saw to a circular saw. I think the circular saw is my tool of choice for pretty much anything that needs cutting. Also the only tool I have right now for carpentry projects that I would like to look somewhat decent. I have plans to get a chop saw sometime soon hopefully. For now I will do what I can with what I have (and I actually love this circular saw too!)

At our homestead we have the Ryobi 18 volt circular saw.

Its fairly light weight which is great for me since I don’t have very strong wrists. Its very easy to use and understand. It cuts nicely and has multiple safety feature so you don’t accidentally cut your fingers (or toes) off.

We have this circular saw as part of a 5 Piece tool set. You can find it at Home Depot or HERE. We’ve had the set for at least 3 years now and it still works like new. The batteries hold their charge like they are new. I’m very happy with the quality of this tool set.

This circular saw has been my go to tool and I highly recommend it for women for its light weight and ease of use.

I also love the sawzall (reciprocating saw). It has come in handy for all those odd jobs and its great for yard work too. Again, a simple design that is easy to use and is light weight.

The drill is great. But I will say that it feels a little heavy for me, but its manageable. There are smaller drills available on the market but if you want a drill that has a decent amount of power, you aren’t going to find one lighter than this. Again, simple design and easy to use. I can’t complain.

I have never used the impact drill. I haven’t had a need for it. But my husband has used to and it worked. We still have it. That’s all I can tell you about that. You can find sets with out the impact drill at Home Depot or HERE.

Over all, this is one of the best investments that we have made as far as machinery is concerned.  Both my husband and I used it almost daily. WE have definitely gotten our money out of this set.

Bonnie is in Puppy Heaven

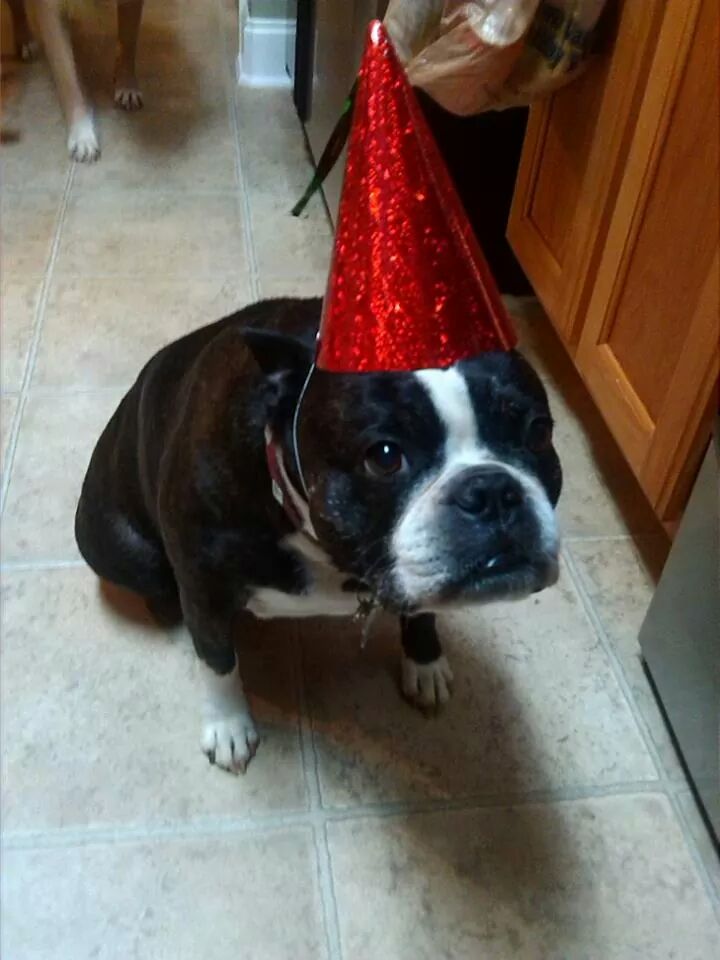
The time is drawing near for my sweet Bonnie girl.
She has been battling lymphoma for 6 months now as I talk about in the Rainbow Bridge post.
She told me that she was ready to leave soon.
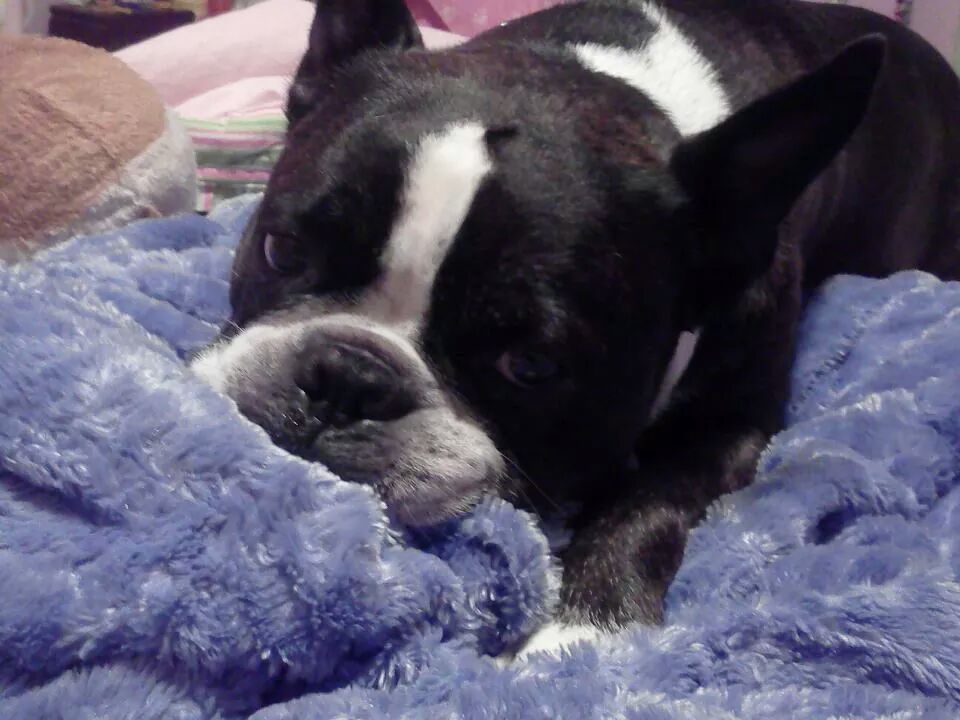
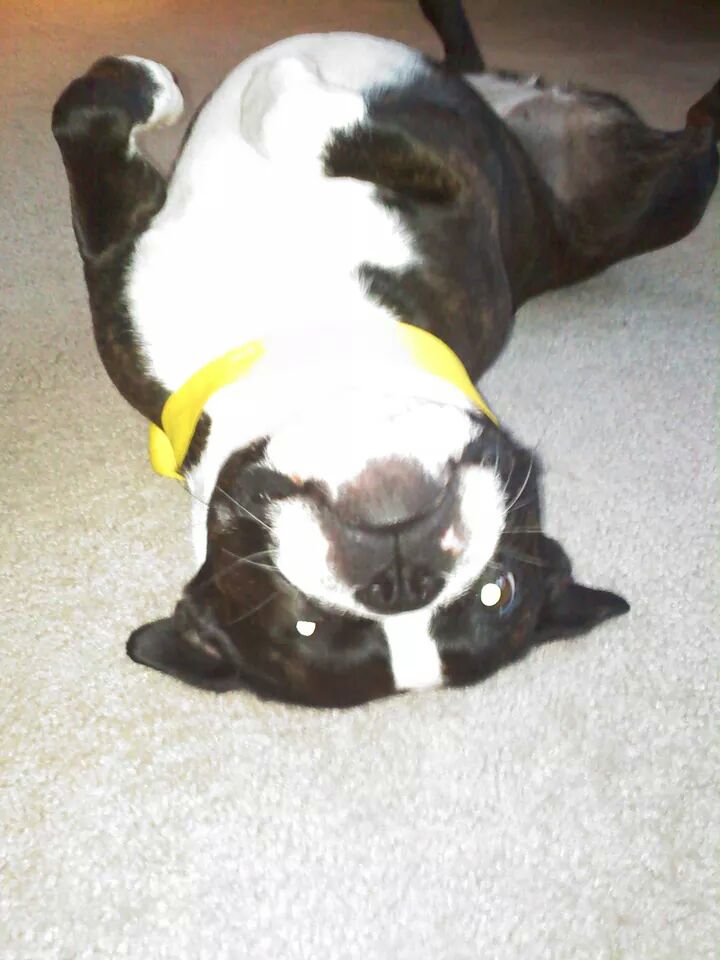
She was laying on the hardwood floor. Her breathing was heavy. She looked at me and I could see it in her eyes. She was uncomfortable.
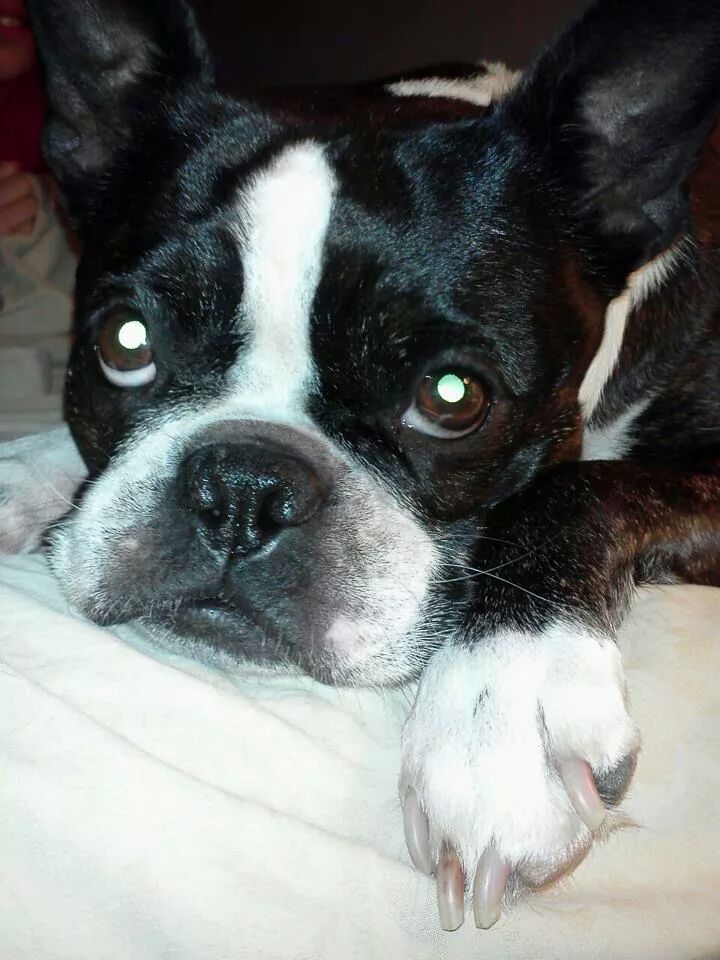
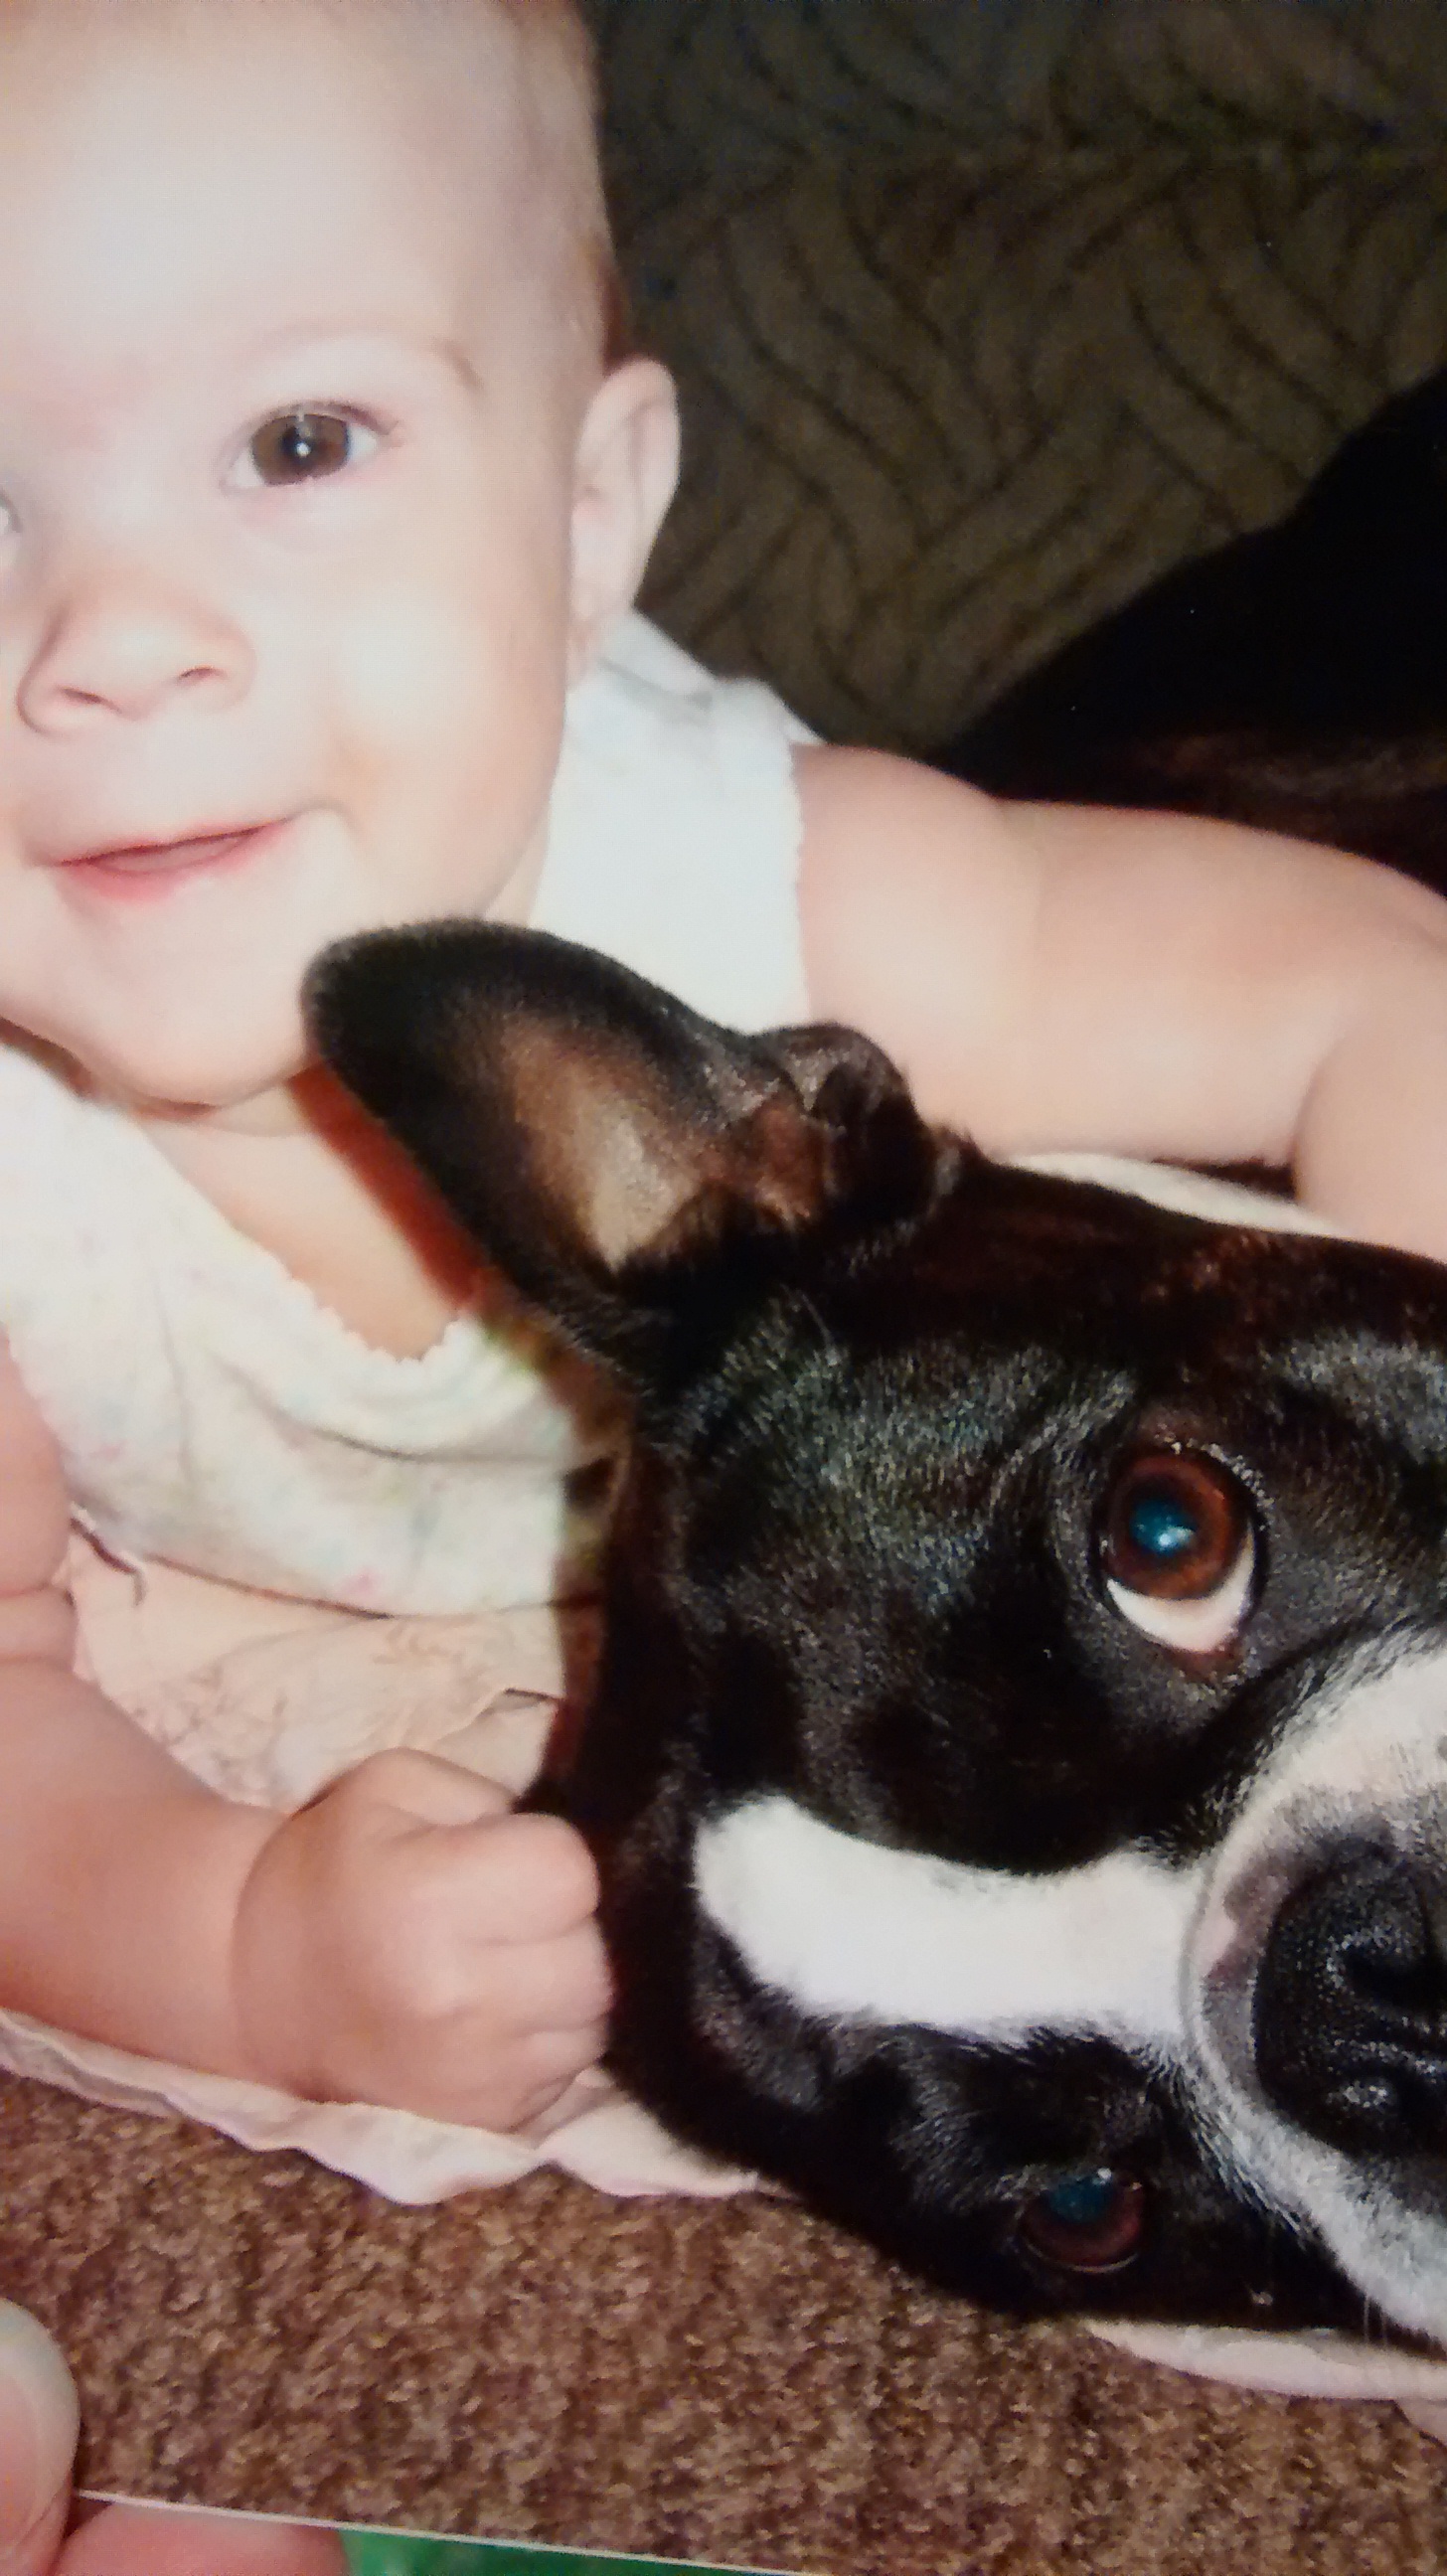
I lay down on the floor beside her. My cheek on the cold wood floors, the same as hers. I admired her white fur peppered through her black. Her lips puddled on the floor under her head. Her tiny nose. Tears fell from mine.
I ran my fingers over her nape. This is her favorite spot for a good scratch. I pushed my fingers down into her thick fur and gently began to scratch. Her eyes brightened for a moment. She struggled to stand then slowly walked away from me to the other side of the room and lay down heavily again. She did not want me to scratch her anymore.


image


I called the vet the next day. I fought back the tears and made an appointment for Bonnie’s euthanasia. The vet would come to our house in 4 days.
Now I had to tell the kids.
I loaded up on snacks and bought a couple movies. I knew I needed to distract them for the sadness. The first night would be hard but then they would have the weekend to spend with her and to prepare for her departure.
Having to explain to your child, that someone they love is leaving them, is very hard to do. Seeing their eyes well up with tears. Their little cries of utter sadness. It broke my heart.
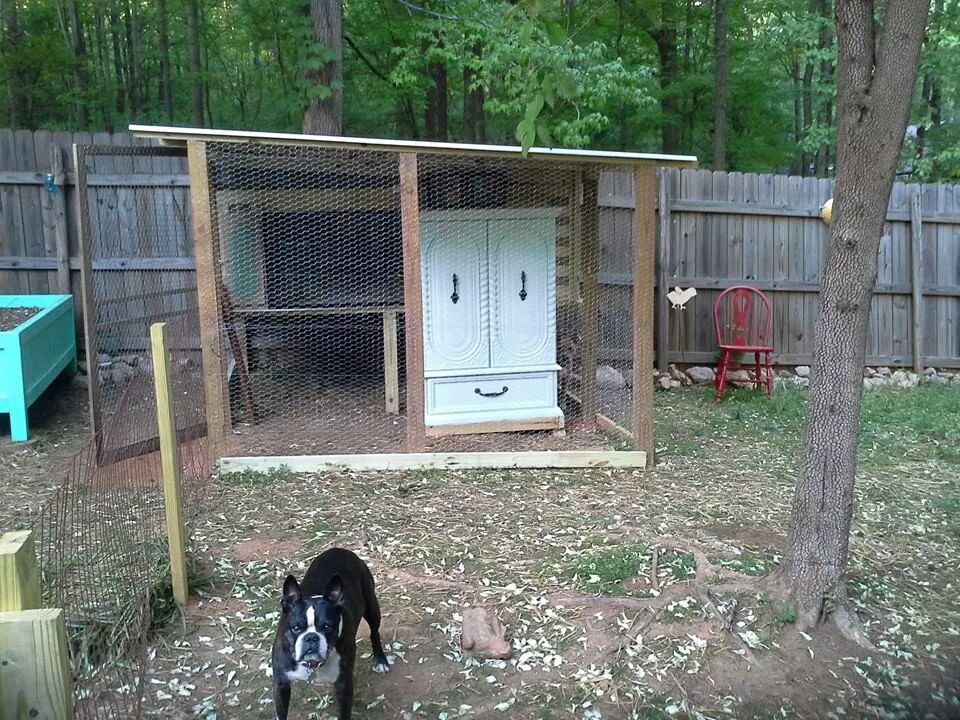
The next day we took all the dogs on a ride to grandmas house. Bonnie loved to go for rides.
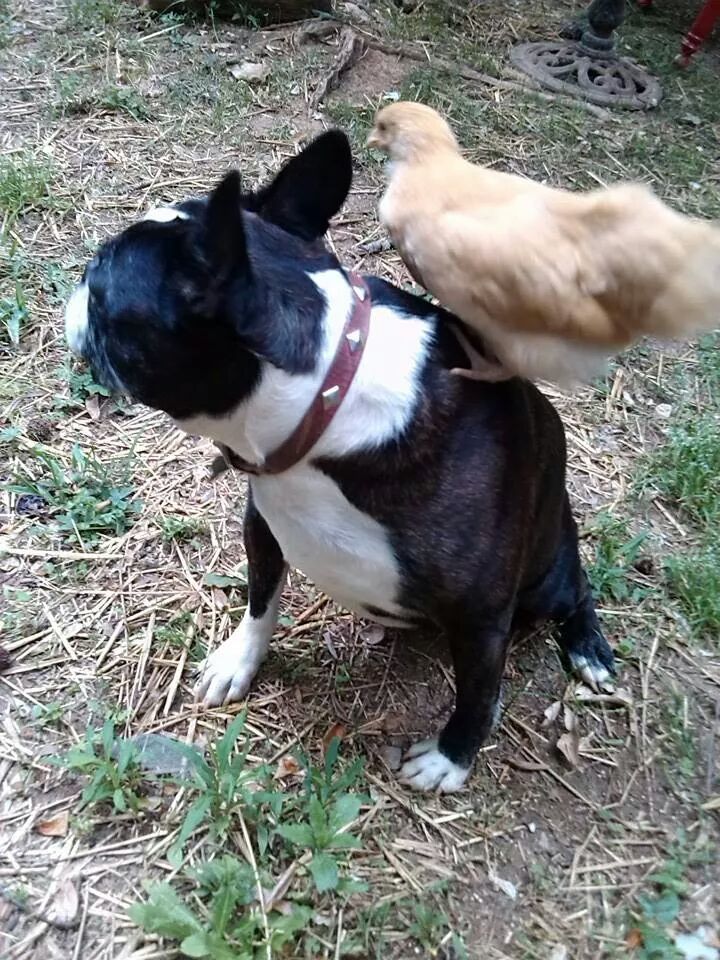
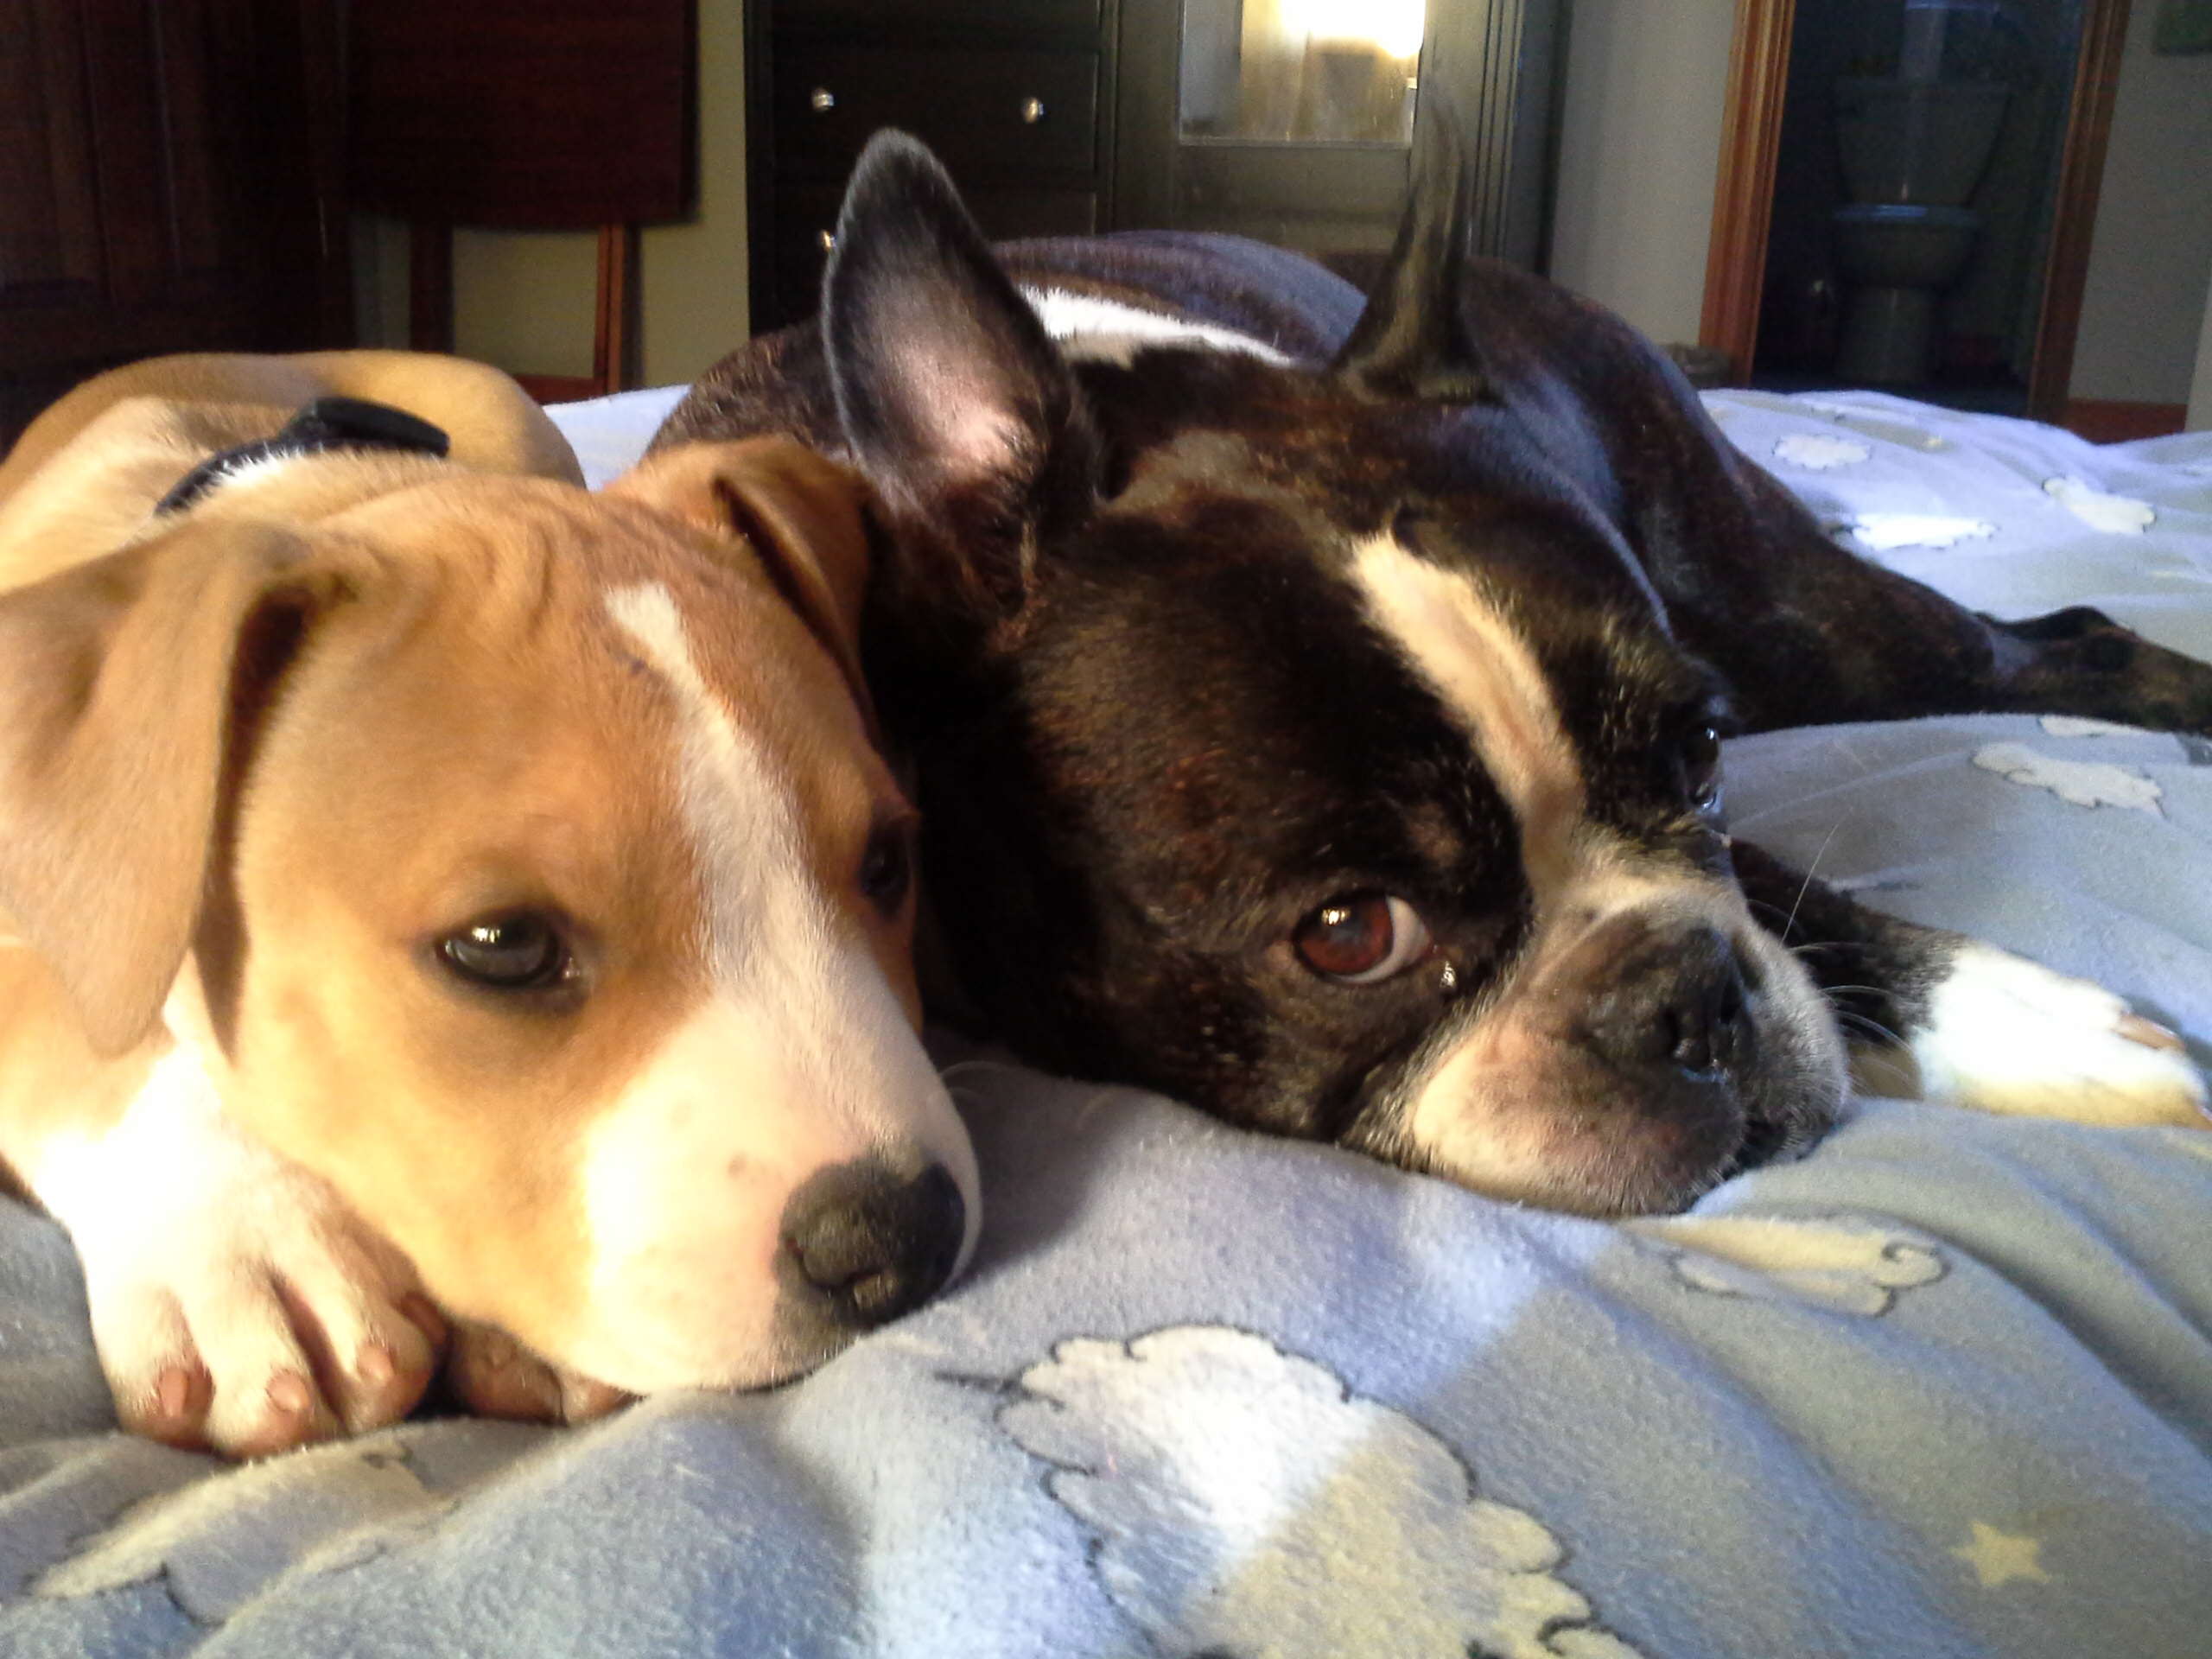
The girls swam in the pool. Honey ran laps around the pool and occasionally jumped in for a swim. Bonnie stayed to herself and rested. Grandma fed her homemade fudge. Everyone was tired by the end of the day.

image (1)
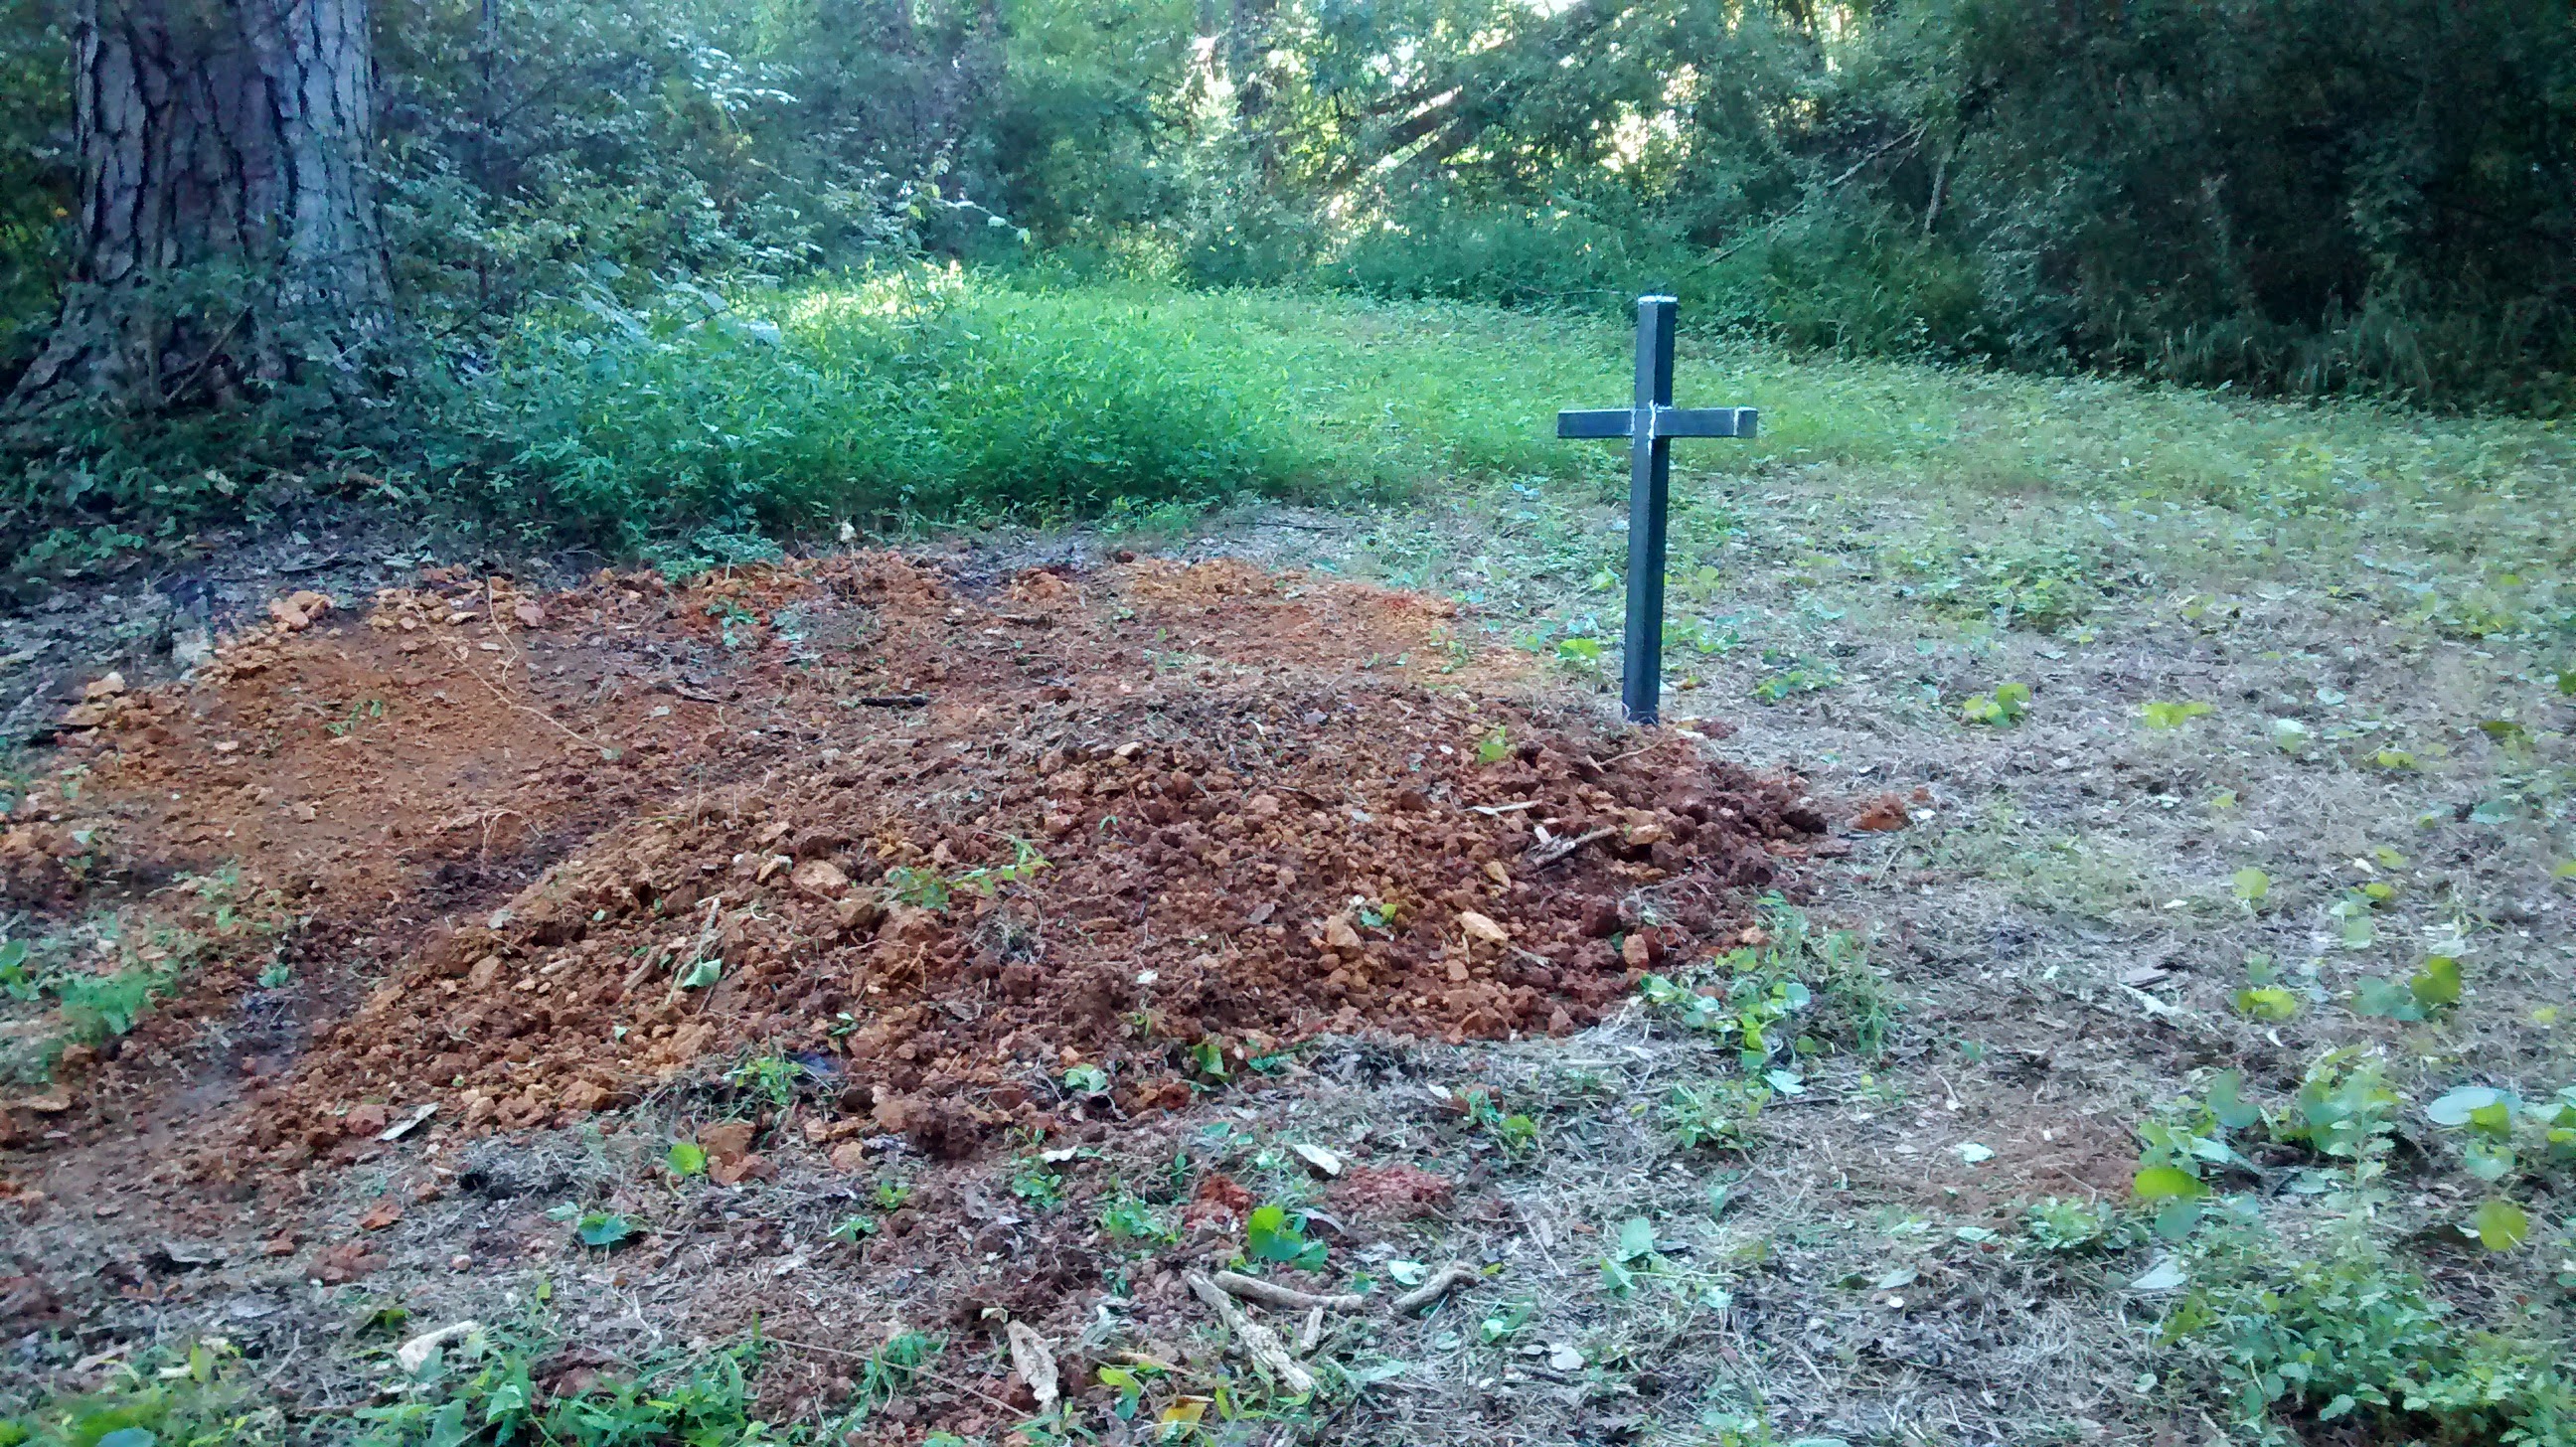
On the third day my husband and I walked the property to find Bonnie’s final resting place. It was early and the air was cool. Bonnie’s dad had the painful job of digging her grave. I’m lucky to have him. I couldn’t do it.
After lunch we took Bonnie for a ride to the pet store. We bought her a new collar and tag and some special treats. My youngest daughter bought her a cookie with her own money. She wanted to save it for Bonnie’s special day.


image (6) image (3) image (2)

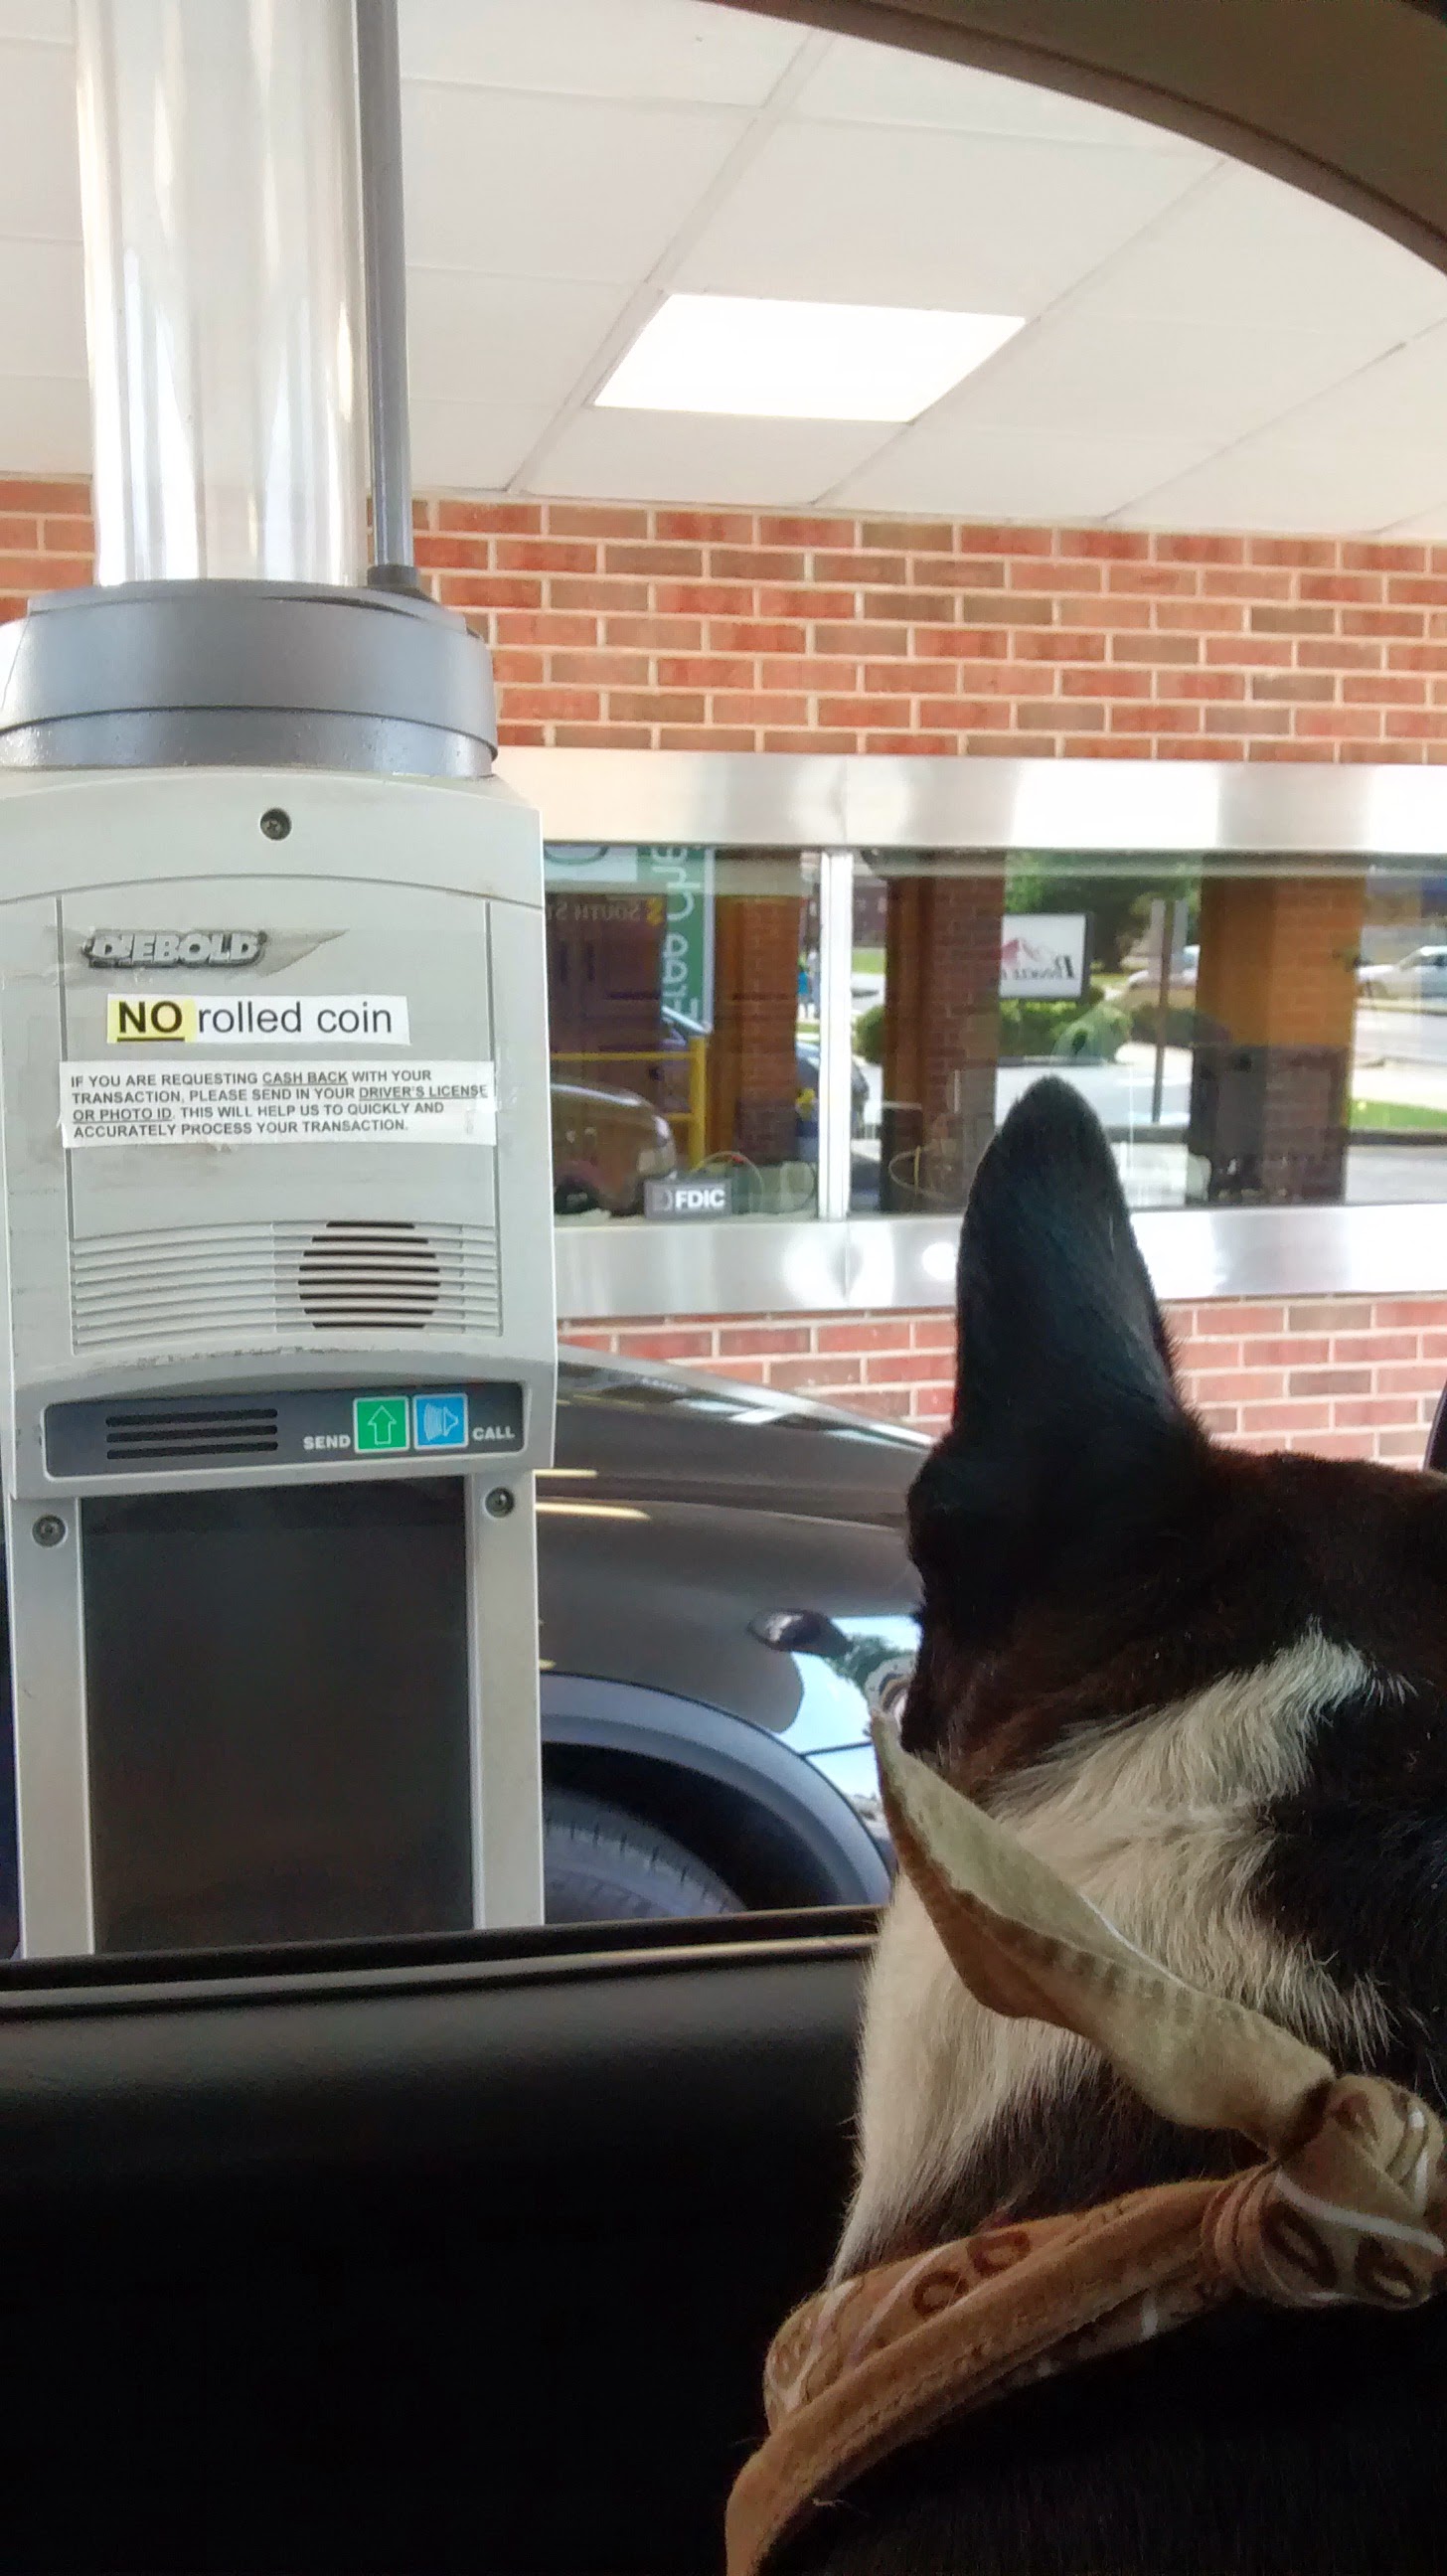
On the way home we went through the drive thru for ice cream. Bonnie got a peanut butter blizzard. But she didn’t want it. She thought we were at the bank and that she would be getting a treat. The tellers always put a treat in the canisters for her. She watches them glide through the pneumatic tubes with her ears perked up.
Tomorrow we will take her to the bank.

image (4)
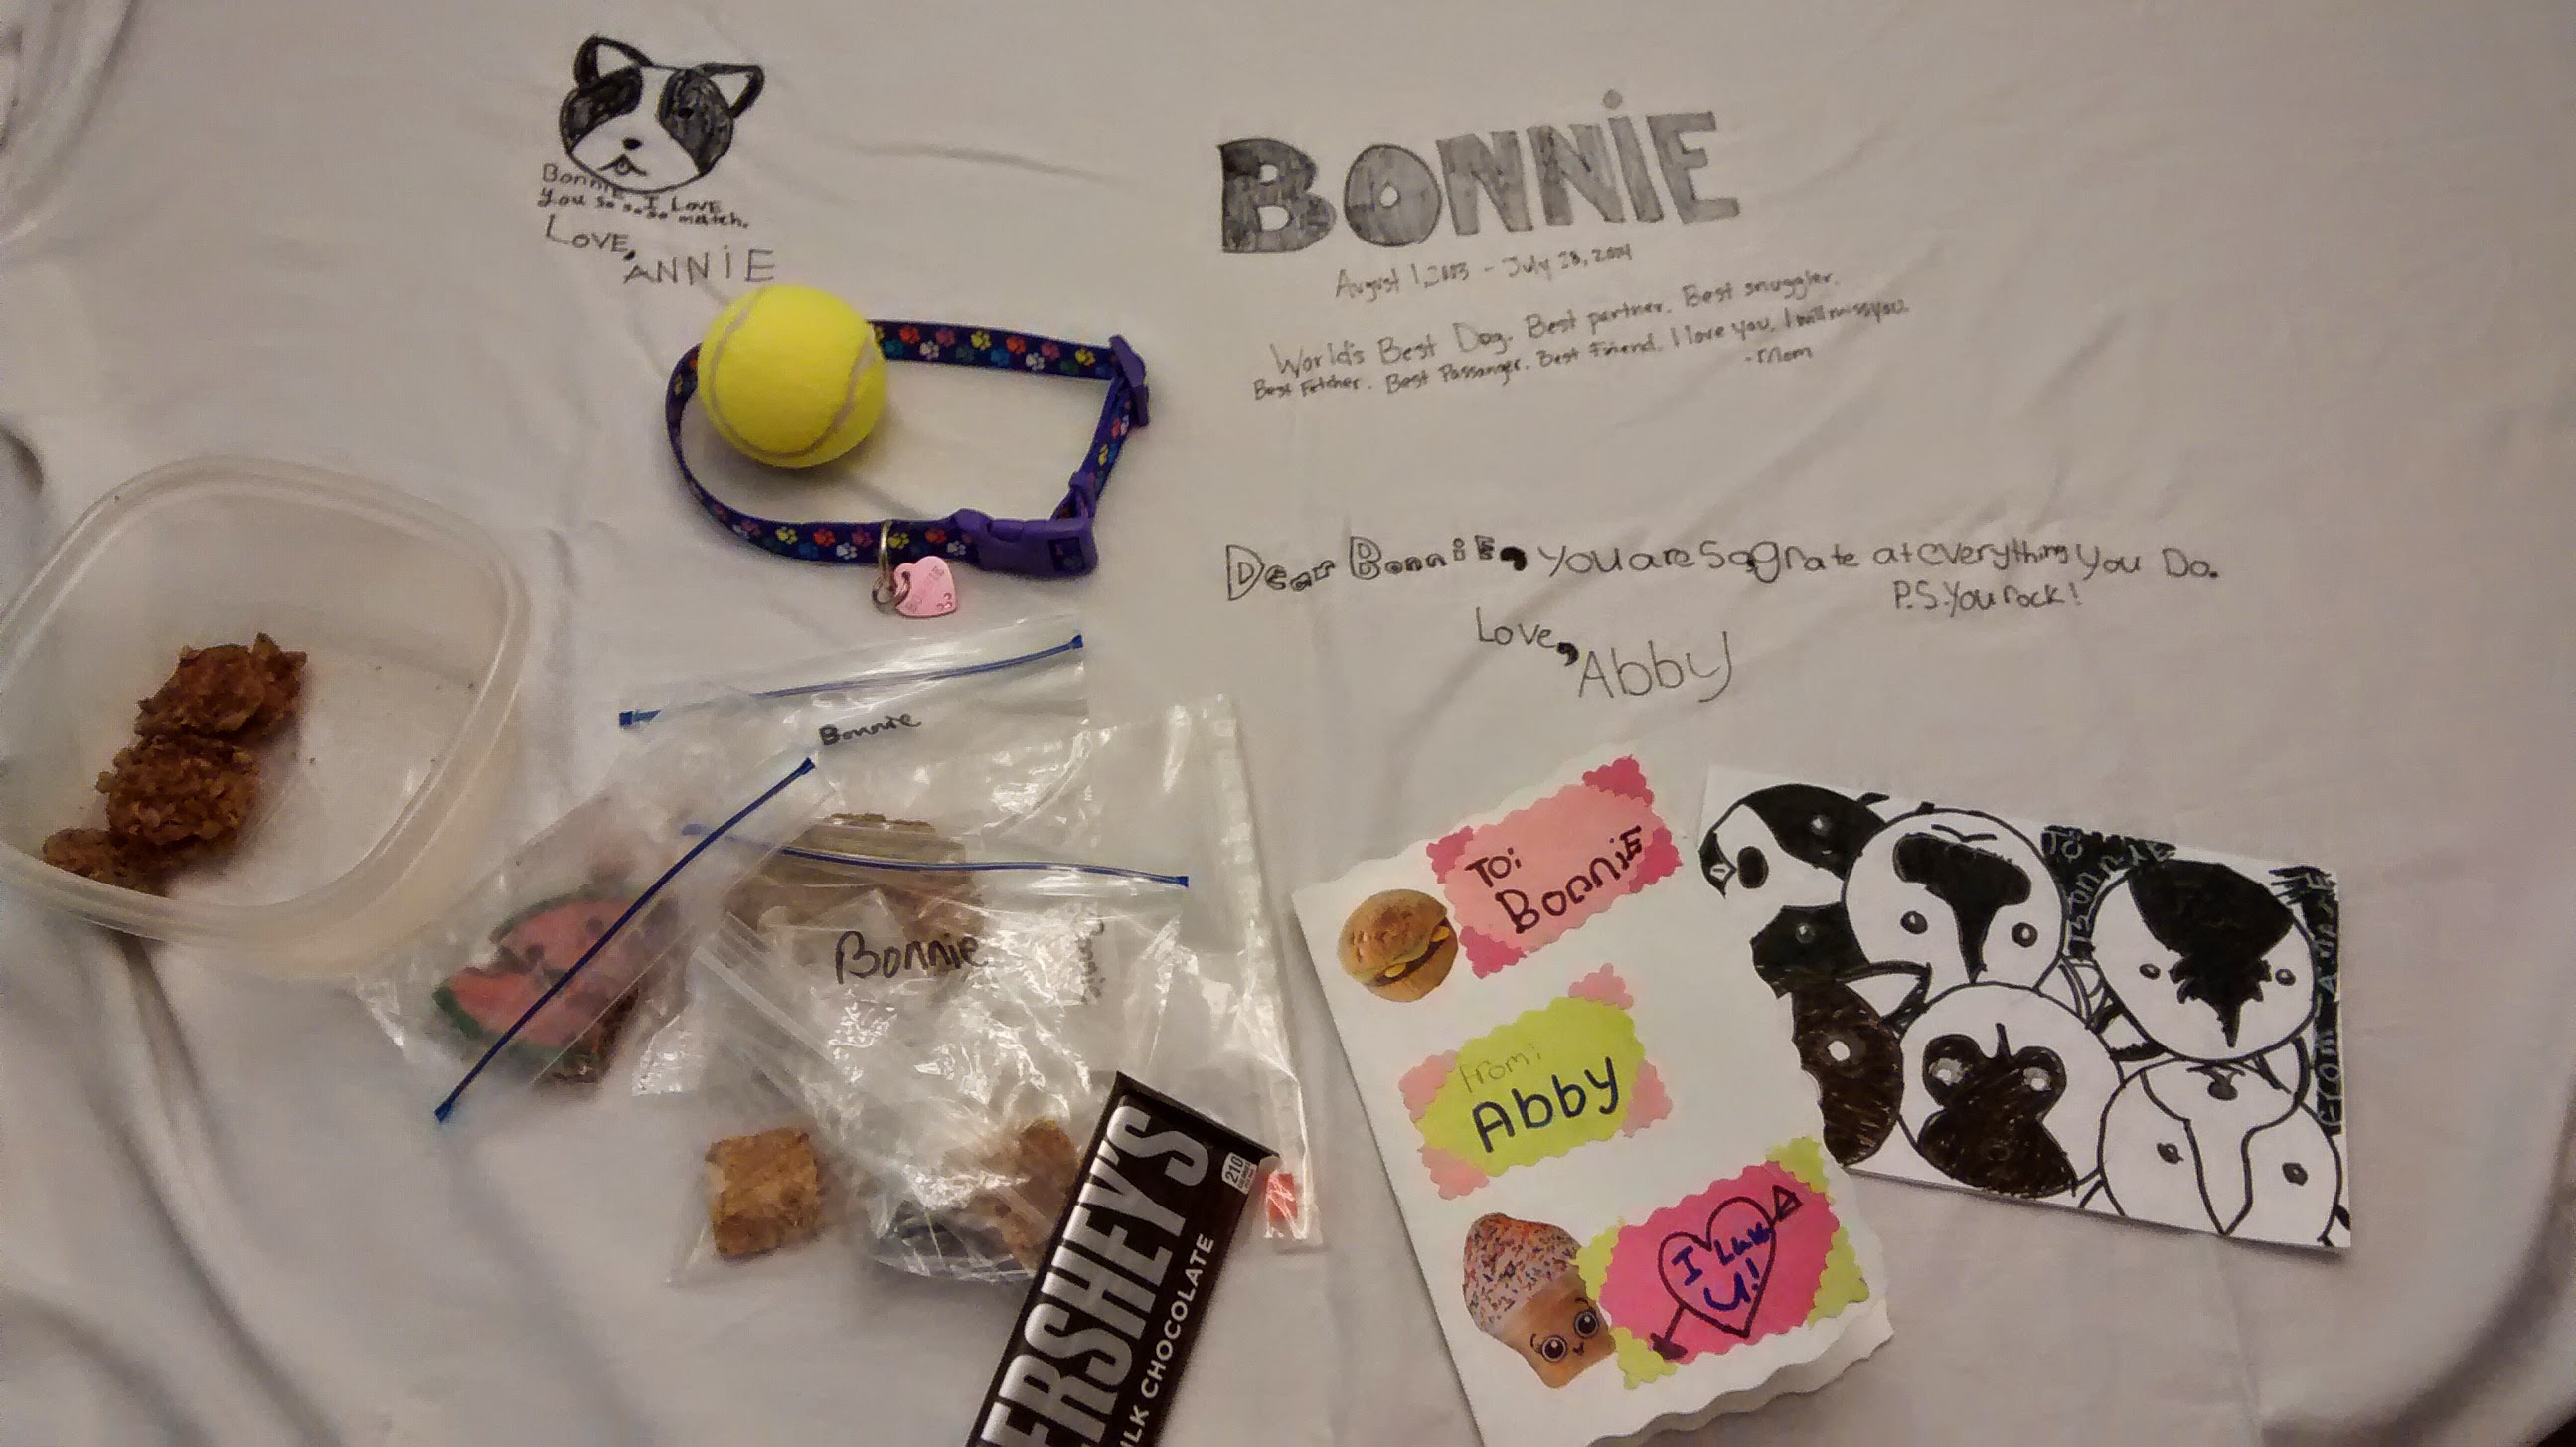
After dinner we wrote letters to Bonnie telling her how much we love her and how we will miss her. We also found a sheet to bury her in. We wrote notes on the sheet too.

image (5)
None of us want to talk about our Bonnie girl leaving us but I can see that it helps.
For me, its a relief to talk about it. I have kept her illness a secret for months. I’ve ran all these scenarios through my head a hundred times. I’ve dreaded the idea of telling my children the news and seeing them being sad. But to finally be facing that fear, its almost joyful. Its weighed so heavy on my heart.
On the 4th day Annie gave Bonnie the treat she bought her, for breakfast.

image (7)
We went for a ride to the bank drive through. I put a note in the canister.
“Please send treats. My dog Bonnie loves coming to the bank for treats. She’s going to puppy heaven today”.
I could see the sad looks on their faces.
Bonnie’s ears perked up as she watched the canister glide through the pneumatic tube. She climbed into my lap excitedly.
They sent her 4 big treats. She scarfed them down.

image (8)
I drove home extra slow. It was Bonnie’s last ride. I turned the AC up and rolled the windows down for her. She stuck her face in the breeze. Taking deep breaths. She watched the sounds pass by. Sneezing occasionally. Panting heavy. This was her favorite thing to do.

image (9)
When we got home I gave her a bath. She wasn’t crazy about baths, but I wanted her to look her best when she got to puppy heaven.
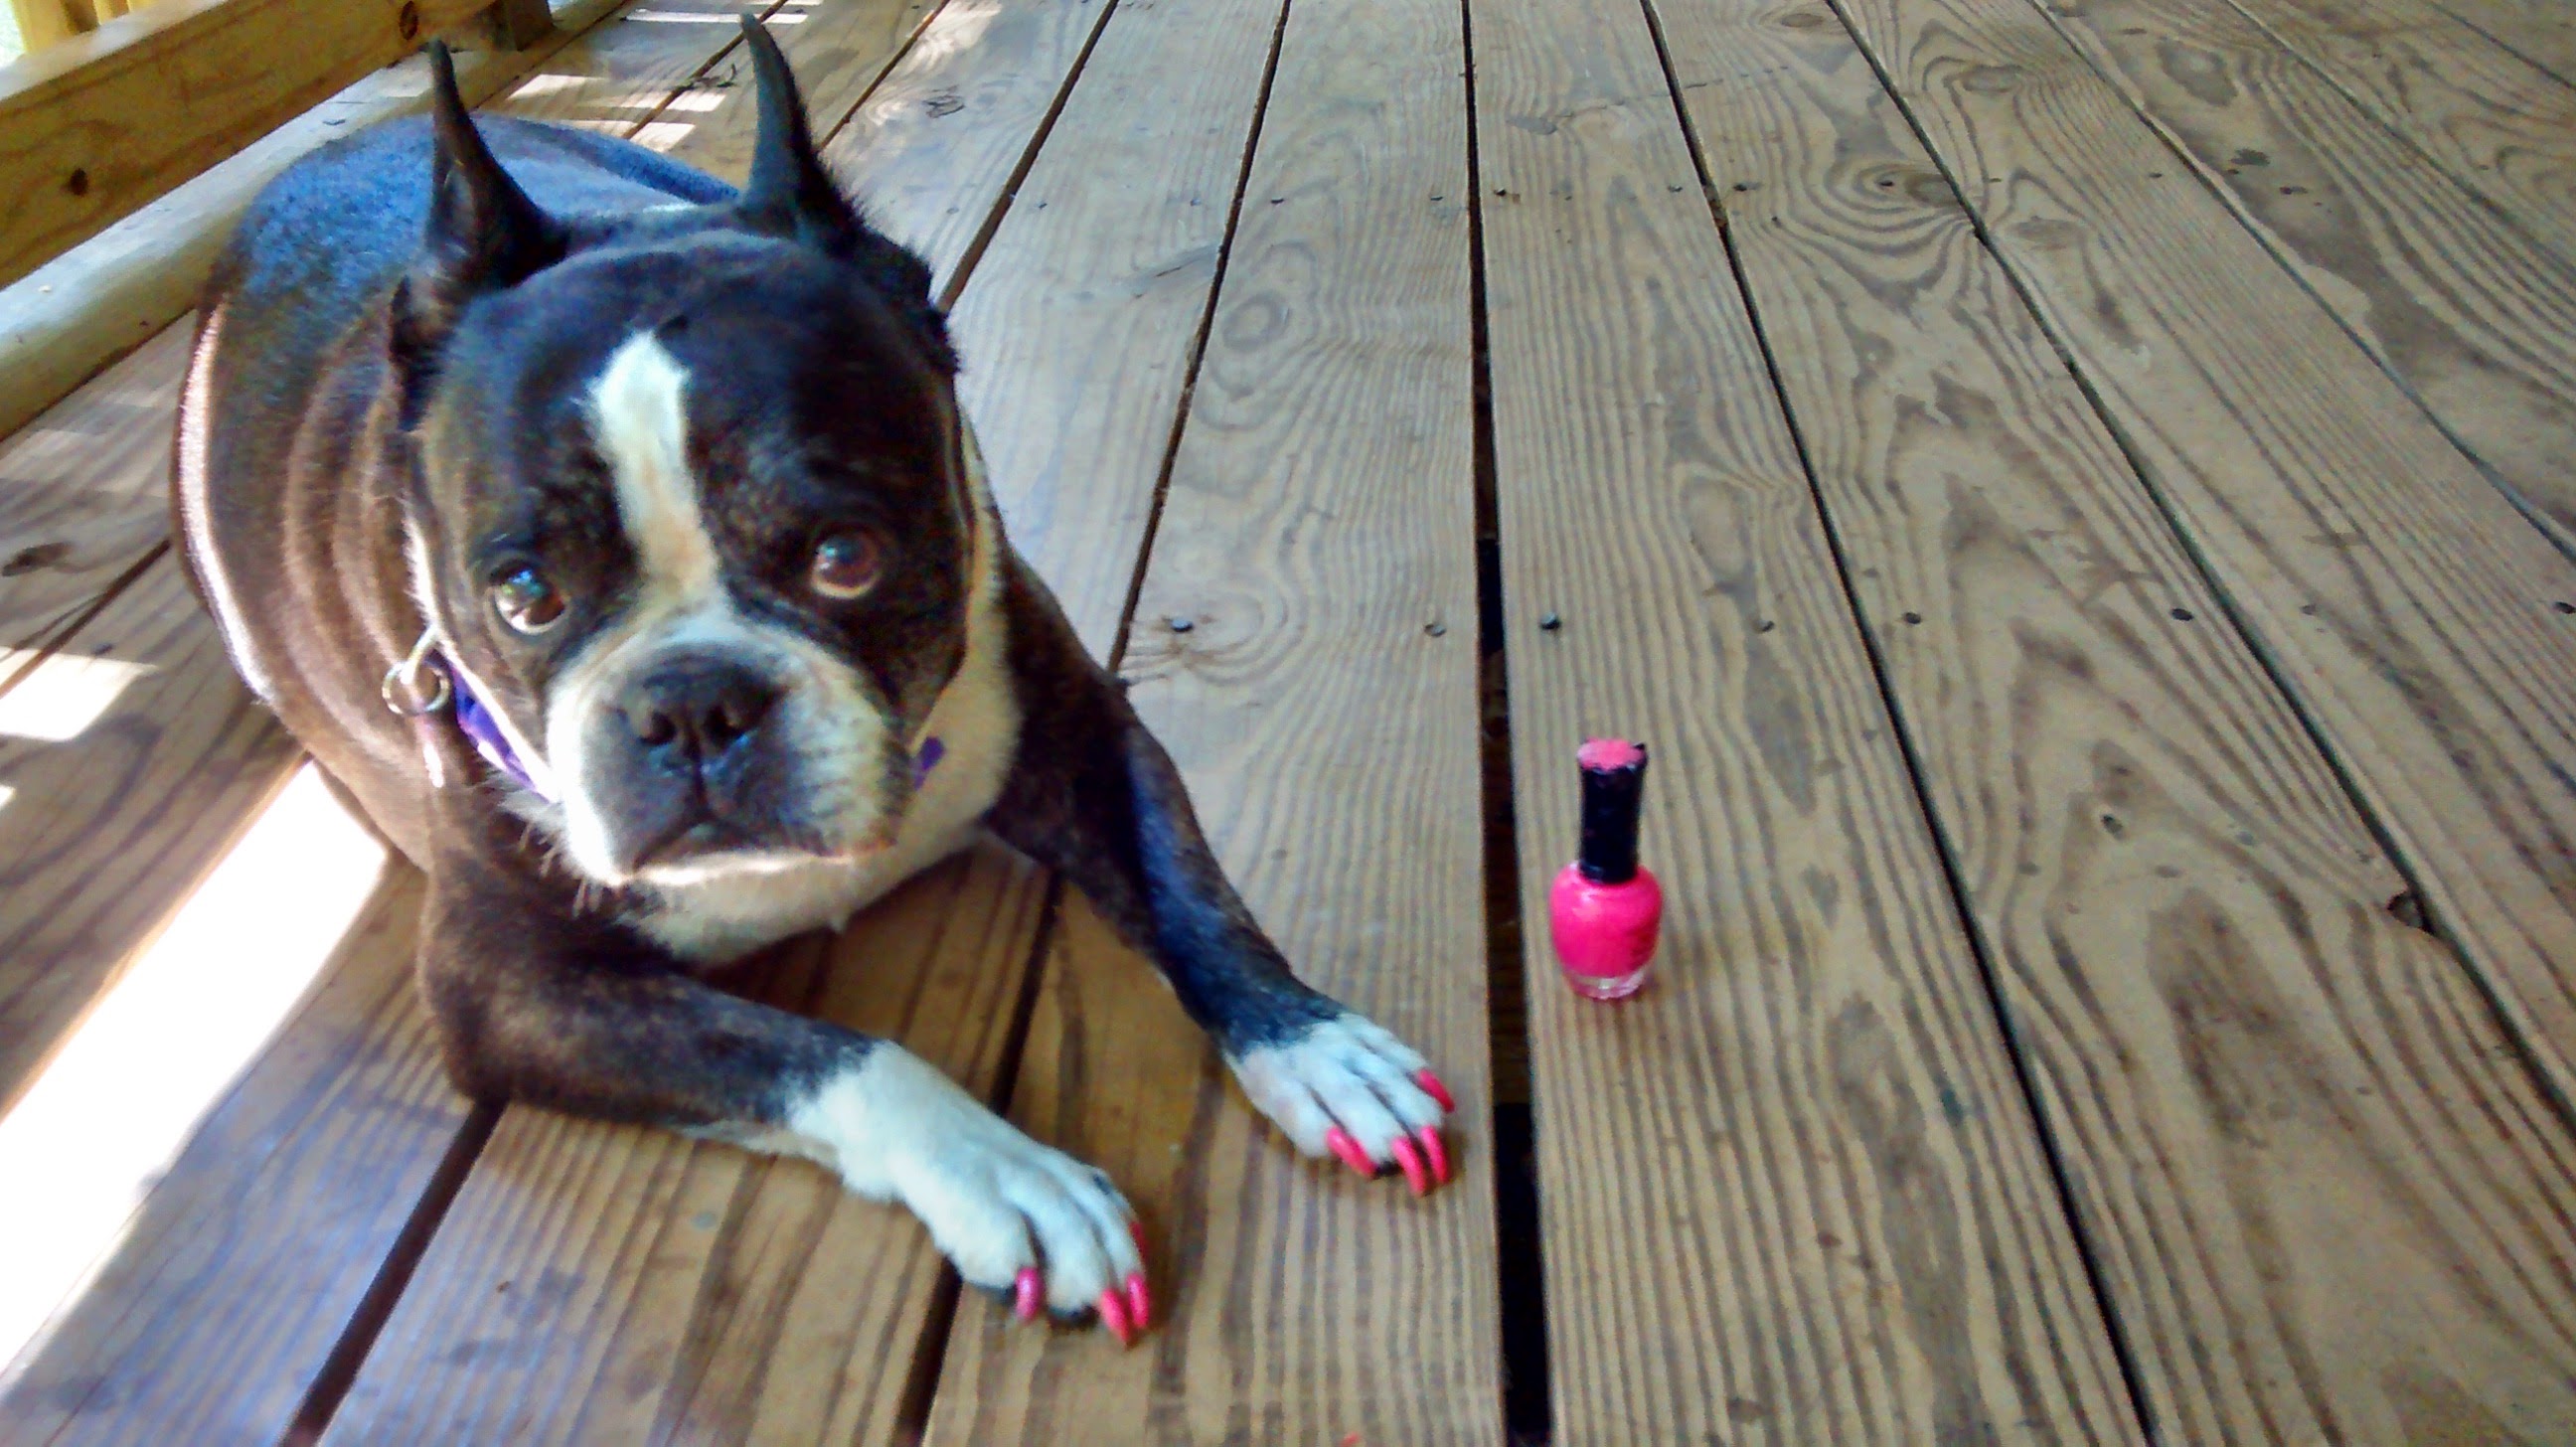
Then we painted her nails hot pink. We put her new collar and tag on her. I don’t think she cared about any of it. But she would do anything for me. She looked great.

image (10) image (11)
I prepared the treats to keep the other dogs busy while the vet was visiting. Two almost empty peanut butter jars and two toy balls that dispense treats when rolled the right way. I sat them by the back door, ready to thrown them out when the time was right.
We decided that Bonnie should be put to sleep where she is most comfortable. She has been spending most of her time on our bedroom floor. Its cool in there, and quiet.
I cleaned the room up. I swept and put the nice bed spread on the bed.
Then we waited. If it weren’t for the incredibly sad event to take place we would almost be excited. I think we were all ready to rip that bandaid off. The sadness had been hanging around for days. We took our last photos with her.

image (13)
The vet called to let us know she was on her way.
We put Bonnie’s last meal together. On a big cookie sheet we placed all her favorite treats and things she never had before. Some of my crock pot lasagna, bologna, grandmas homemade fudge, the dog treats we made for her, a bar of chocolate, the remainder of the cookie Annie bought her, and a bowl filled with her peanut butter blizzard she never ate. We also had saved a Smoked butt bone for her.

image (12)
We brought her in our room and set out the buffet. She went straight for my lasagna, then the bologna, the grandmas fudge and homemade treats. She was loving it all. We brought her more lasagna and bologna. Soon enough she laid down. Her belly was filled. That’s when we gave her the smoked bone. She loved it. She grasped it between her two front paws and gnawed at all the bits of meat.

image (14)
The vet arrived. I put the two other dogs on the back porch with their treats. They were totally distracted.
The tears started to fill our eyes as soon as the doctor came in the house. We chatted for a minute. She told us that Bonnie had lived twice as long as the average dog does after diagnosis of lymphoma. Bonnie never quits. She hung on for us.
We went in the bedroom. Bonnie was standing there waiting at the door. She knew we had a guest. She walked up to the doc. Her little stub for a tail wagging away. The vet reached down and pet her. Telling her how pretty she was. Bonnie drank in the scratches and compliments.
The vet sat her bag down. She examined Bonnie gently. Speaking to her softly. “Oh, your a good girl aren’t you?”.
Bonnie laid down and went back to work on that bone.

image (15)
The vet gave her a sedative. We pet Bonnie and talked to her as she slowed down on the bone. We told her it was OK to sleep. Gently scratching her and caressing her fur. Her breathing got heavy and she dropped her bone.
I crawled down onto the floor, looking her in the eyes.
” Momma loves you, good girl. You are the best dog in the whole world. You did such a good job, everyday”. Crying heavily, I traced the wrinkles of her face, her ears, her lips, her little nose. Everyone was crying. Each of the girls came down and kissed her head and said good bye to her.         I told the vet we were ready as soon as Bonnie was. As I felt her warm fur for the last time, the Doctor gave her the final shot. Bonnie’s heavy breathing stopped. My baby was finally at peace. The sudden realization that life had left her body hit me like a rock. I wept.

The vet softly said goodbye and let herself out.

We cried and held her. We pet her. I rubbed her ears. We all sat on the floor and told stories about the silly things Bonnie did in life and how she was doing her favorite things in Heaven now. We loved on her for one last time.

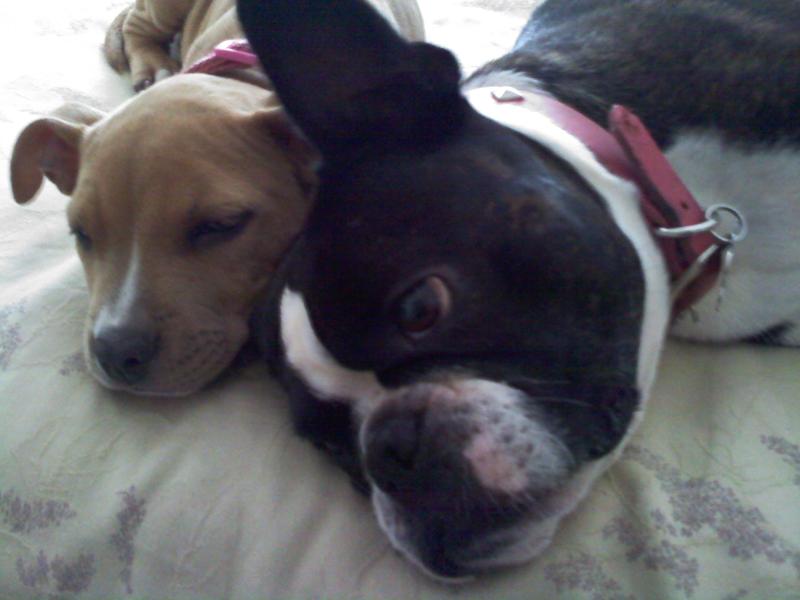
We brought our two other dogs inside the room to smell her and see that she was gone and not just missing. They seemed more interested in the smells the vet had brought in with her rather than Bonnie. I suppose they were used to her laying around sleeping. Maple did seem concerned about me as I wept over Bonnie.Sticking her hose between Bonnie and I and licking my tears; her tail wagging heavily.

We wrapped her in the sheet we made for her, tucking her feet close to her body like a newborn. We all walked together to her grave. We read our letters to her. We left special things with her. We said goodbye.

image (16)

Of course there was crying and a heaviness in our home. But there was also a great sense of relief. We knew that she was in puppy heaven and no longer in pain, and we were actually happy for her, in that sense.

Its the every day routine that is hard. Not seeing her, when she should be there. Making two dog bowls of food instead of three. Being careful not to step on her in the darkness of night because her fur blends so well, but shes not there.  The sound of her snoring is gone. Its quiet. Our home is missing something.

IMG_302126717688470


Rest in peace Old Lady, you were the best dog in the whole world, and you were very loved.

IMG_302141411194612 IMG_302206583510629 IMG_302117226647121 IMG_302096881223951 (1) IMG_302220466576612 IMG_302066029734275 (1) IMG_302324424799958 IMG_302281704028203 IMG_302199235848495 IMG_302149139081067 IMG_302186018162771 IMG_302267774403313 IMG_302345642367763 (2) IMG_302172704266371 (1) IMG_302022803691740 IMG_302110076093633 IMG_302066029734275 Andrea s Phone Pics 2010 1449 20140216_162537 IMG_20140728_214738078 IMG_20140728_214801573 IMG_20140728_213246851 IMG_20140728_213144940 IMG_20140728_214817697 IMG_20140728_214750509 IMG_20140728_214714721 IMG_20140728_213053756 IMG_20140728_214727350 IMG_20140728_214656337 IMG_20140728_214618676

Snow2010 029 (1)

Design Your Own Rain Boots

We love rain boots. They are our choice of foot wear on this homestead.

My youngest daughter wanted a pair of Boston Terrier rain boots but I wasn’t willing to pay the prices some companies were charging. We decided to make our own.

First I found a pair of cheap, plain black, rubber rain boots. The boots have to have a mat finish. No glossy surfaces.

Then I did some research. I read a few blogs that gave directions on how to do it but all the reviews said that the paint peels off or cracks very easy. It became obvious that acrylic paint won’t work. I needed rubber paint.

I researched rubber paint. Which lead me to LIQUID ELECTRIC TAPE!

I made a trip to Home Depot and found a small selection of 3 colors of liquid electrical tape. White, green and red. I was a little disappointed because I really wanted black (how can you have a Boston Terrier without black?) but they were sold out. I grabbed a bottle of white.

Next I drew my design on a piece of card stock. I carefully cut the design out with an exacto-knife. I now had a template.

I positioned the template where I wanted them on the boot, and traced it with a pencil.

Since I didn’t have black, I filled the entire tracing in with the white liquid electrical tape and added black details with a Sharpie. I used a paint brush to apply the liquid electrical tape. It worked just like acrylic paint, but a little thicker and I had to work quickly because it dried fairly quick.

We have had these boots now for 6 months and the liquid electrical tape is still right where I put it. No cracking or peeling. They’ve waded through puddles and ran through grass. They’ve had chickens pecking at them and dogs scratching them. Still attached perfectly The Sharpie has faded a bit. I would definitely use the black liquid electrical tape if I weren’t too cheap and lazy to go buy a bottle.

You can make any design you choose! Have fun! Please share a picture with me when your done!

Easy Herb Gelatin Treats for Chickens (or humans, I guess!)

With the heat on the rise I have been looking for ways to help keep my small flock cool.

Fresh Eggs Daily had a great post on Beating the Heat. This is my favorite chicken site. Tons of information. The post gave me an idea. I could make Homemade Healthy Gummie Snacks for my chickens! They were such a hit with the kids, the chickens were bound to love them!

I found out that not only could chickens eat gelatin, but gelatin is actually good for them. Just like in humans, gelatin helps support health hair, skin and nails. It is also aids digestion and soothes the digestive tract. Sounds like a winning combo for chickens. And to clarify, gelatin is made form the bones and hooves of bovine. It is not made from chicken products. No cannibalism here.

You can make these treats from the herb of your choice. Or you could not use herbs at all. Maybe just use fruit. Or a fruit herb combo. How ever you make them this is a healthy treat that can help your chicken keep its cool.

IMG_20140609_081118939 (1)

Ingredients:

2 cups herbal infusion (How to make a Water Infusion)

1 cup cold water, fruit juice, or fruit puree (I used strawberries and blackberries (this is a great opportunity to use up that frost bitten fruit you have in the freezer ;))).

4 packs  unflavored 1/4 oz gelatin (you buy it here or any grocery store in the Jello section)

First thing you need to do is make an herbal infusion. Since I want to cool my chickens I decided to go with mint. It has natural cooling properties. Since mint is a strong herb, I only filled my infusion jar 1/4 of the way.

Bring your finished infusion to a boil in a 2 quart pot.

Remove from heat.

Slowly add gelatin while mixing.

Blend with an immersion blender until smooth. If you don’t have an immersion blender, just blend it by hand with a wisk or fork. I love my immersion blender and I highly recommend one. You can buy the one I have here or at walmart.

Add cold water juice (or fruit juice or puree).

Blend until smooth.

Pour liquid into a greased, 3 qt 9×13 casserole dish.

Place casserole dish in fridge.

Allow to sit for 1-4 hours (or until firm).

Cut into squares the size of your choice. I like 1/2″ squares.

Serve to chickens.

Watch the chickens steal them from each other and chase each other for the last bit! They LOVE THEM! I tried them as well. I don’t prefer mint jello but I can tell you for sure it has that great cooling effect!

If you made  your own flavor and the chickens didn’t like it, you can put the cubes back into the pot and reheat them until liquid. Try adding something you know they love, like strawberries or bananas. Then re-pour, refrigerate and serve again. Have fun! Try new flavors and let me know which one your chickens like best!

Here is my flock enjoying their gelatin treat! Ravenous!

IMG_20140609_081233860 IMG_20140609_081235435 IMG_20140609_081239666 IMG_20140609_081242348

Look how sad my little Mango is. The girls stole all the treats! 😦


How to Make a Water Infusion

Infusions are a away to make the qualities of an organic item infusion into water. You can make infusions out of pretty much any fruit,vegetable, flower, herb, leaf or bark, etc. Just please make sure what you are infusing is not toxic or poisonous. Do research on the item and get confirmation from an experienced individual before you make your infusion.

What you need

1 quart size glass jar with lid

2 cups of boiling water

item to be infused (usually 2 cups. NOTE:Some Herbs, like mint, Have a very strong flavor , you may want to use less of the herb. You can use as much or as little as you’d like). Make sure the item has not been sprayed/treated with pesticide/herbicide

My Method:

I fill the jar with the item to be infused (say white clover because I love White Clover Jelly). I stuff that jar with just the flower, removing as much greens from the flower as possible.

Most people will rinse the flowers to get any little bugs that may be hiding in the flowers. I just kinda shake them off before I stuff them in the jar. I don’t like the idea of washing away any of the pollen or nectar that are in the flower. BUT if you don’t like the idea of ant infused water, go ahead and give the flowers a quick rinse and put them back in the jar.

Pour 2 cups of boiling water over the flowers in the jar.

Put the lid on the jar.

Leave the jar to sit for 4-24 hours.

In a fine strainer, muslin cloth or cheese cloth, strain the water from the flowers into a bowl. Squeeze the liquid from the flowers, through the strainer, to be sure you get all the goodness. (Side note, you can feed the left over flowers to your chickens)

You now have a fusion. TA-DA!

This fusion good for about 24 hours when kept in the fridge. The older a fusion is the less of the qualities of the item infused will remain. Basically, use it or lose it. If you can’t use it right away, freeze it! You can leave it in your glass jar (with room for expansion) or make ice cubes. The qualities will be less, but it is better than wasting.

I am not a professional. I am not a doctor. I am not telling you to do this.


Building a Chicken Coop

1404100291398

Building my first chicken coop was a challenge. I had never build a structure before. I am also a tiny bit of a perfectionist and I detest when I make something to later wish I had done it differently. So I took a lot of time and put a lot of thought into how I wanted my chicken coop to work. I did research on What makes a good chicken coop. I drew up lots of plans, threw them away and drew more.

I had some supplies on hand already. I try to reuse/re-purpose items as much as possible. I hate wasting things, money included. I wanted this coop to be the best coop possible for the smallest amount of money.

I consider myself a handy person. I do much more than I used to before I got over my irrational fear of power tools, that most women seem to have. But I confess, I was nervous to build this coop.

All of my plans were thrown out the window when I found this at the thrift store.IMG_20140321_155910

I know, right!

Seriously, weeks of planning, OUT THE WINDOW.

Now some people, like my husband, would look at this armorer and think “Man, that is ugly!”. But a chicken person would go crazy once they saw the inside:IMG_20140321_165506-1BAM! How can you NOT see nesting boxes?!

My husband couldn’t see the potential but I went with it anyways. I redrew the plans and then I got to work!

Here it is painted. Still ugly??????IMG_20140411_172115

First things first, the foundation. I’m worried about predators around our homestead so I wanted my coop build up off the ground. I’m also, admittedly, cheap and decided that I wanted to use the fence as one of the walls of the coop (free wall!). These things helped me to decide that I wanted one roof for the entire coop and pen. Which gave me the base of my foundation.

I decided where I wanted to position the coop and installed the 4×4 posts. I had never installed posts before. I dug the post holes with a post hole digger, installed, leveled and braced the posts. Then cemented them in.

Proud of my post work.

Proud of my post work.

I measured the pitch I wanted for the roof and marked the angels on the posts. My husband cut them for me. After that I installed the support beams for the roof and floor.

The next step was the floor of the coop. It took a little finagling (because I built it off a crooked fence) but I got it done.

Then came the walls.  I had a few items I had been saving to use on the coop. I basically built the walls around the items. One was the face of an old kitchen cabinet I had found on the side of the road.

IMG_20140421_130409 (1)IMG_20140422_140512 (1)


I measured the width of the cabinet and installed two 2×4 posts that width apart from each other, from the floor of the coop to the ceiling, where I wanted the cabinet positioned.

I decided to spend a little extra money to have a good roof over the coop. We live in a heavily wooded ares and I was afraid of limbs and branches falling on the coop. I also only want to build this thing one time, so a good roof will keep it dry and help it last longer.

The roof was special ordered and I had to wait for it to come in before I would install the cabinet. It took about 2 weeks but it was well worth the wait. I installed the roof in about an hour by myself. I siliconed the screws to make a water tight seal.

Finally, the cabinet was moved into place. I tacked trim, to both the cabinet and the coop, around the connection point.

After all 4 walls were solid I climbed into the coop and stapled in bright aluminum bug screen and then stapled 1/4″ hardware cloth over it. I was sure to use heavy-duty staples and hammered them in to set them nicely. I them checked for any protruding nails or staples that my birds could possibly hurt themselves on and set them as well.

The final touches like safety hooks and a perch, for access to the nesting boxes, were added. As well as adding a door to the pen and enclosing the pen with chicken wire.

It took me about 2 weeks to build the coop and I have made a few improvements since then. This was a fantastic experience for me. I have always known that I could do anything I put my mind to. My Mom taught me that I was just as capable as any one else and I could do anything a man could do. But believing that and actually doing it are two different things. I built this coop entirely by myself (minus my husband cutting the 4×4 posts because he was worried I would hurt myself 🙂 ). It was hard work and it wore me out, but I did it. Now I feel like I can build anything! (Insert Super woman photo here!)

20140425_193518

Front view

20140425_193544

Left side

20140425_193700

Left side optional chicken door

20140425_193605

Left side door interior view


20140425_193746

Observation window/center door

20140425_193837

Chicken’s coop access door with stained glass above

20140425_193810

Center chicken door/main coop access from pen

20140425_193903 (1)

Center door/observation window


IMG_20140518_192940

Right side door


20140425_194030

Right interior view

20140425_194014

No coop is complete without stained glass windows.

20140501_110506 (1)

Happy chickens!


Do you have any questions on building a coop? I’m no expert BUT I FEEL LIKE ONE! 🙂