
Building my first chicken coop was a challenge. I had never build a structure before. I am also a tiny bit of a perfectionist and I detest when I make something to later wish I had done it differently. So I took a lot of time and put a lot of thought into how I wanted my chicken coop to work. I did research on What makes a good chicken coop. I drew up lots of plans, threw them away and drew more.
I had some supplies on hand already. I try to reuse/re-purpose items as much as possible. I hate wasting things, money included. I wanted this coop to be the best coop possible for the smallest amount of money.
I consider myself a handy person. I do much more than I used to before I got over my irrational fear of power tools, that most women seem to have. But I confess, I was nervous to build this coop.
All of my plans were thrown out the window when I found this at the thrift store.
I know, right!
Seriously, weeks of planning, OUT THE WINDOW.
Now some people, like my husband, would look at this armorer and think “Man, that is ugly!”. But a chicken person would go crazy once they saw the inside: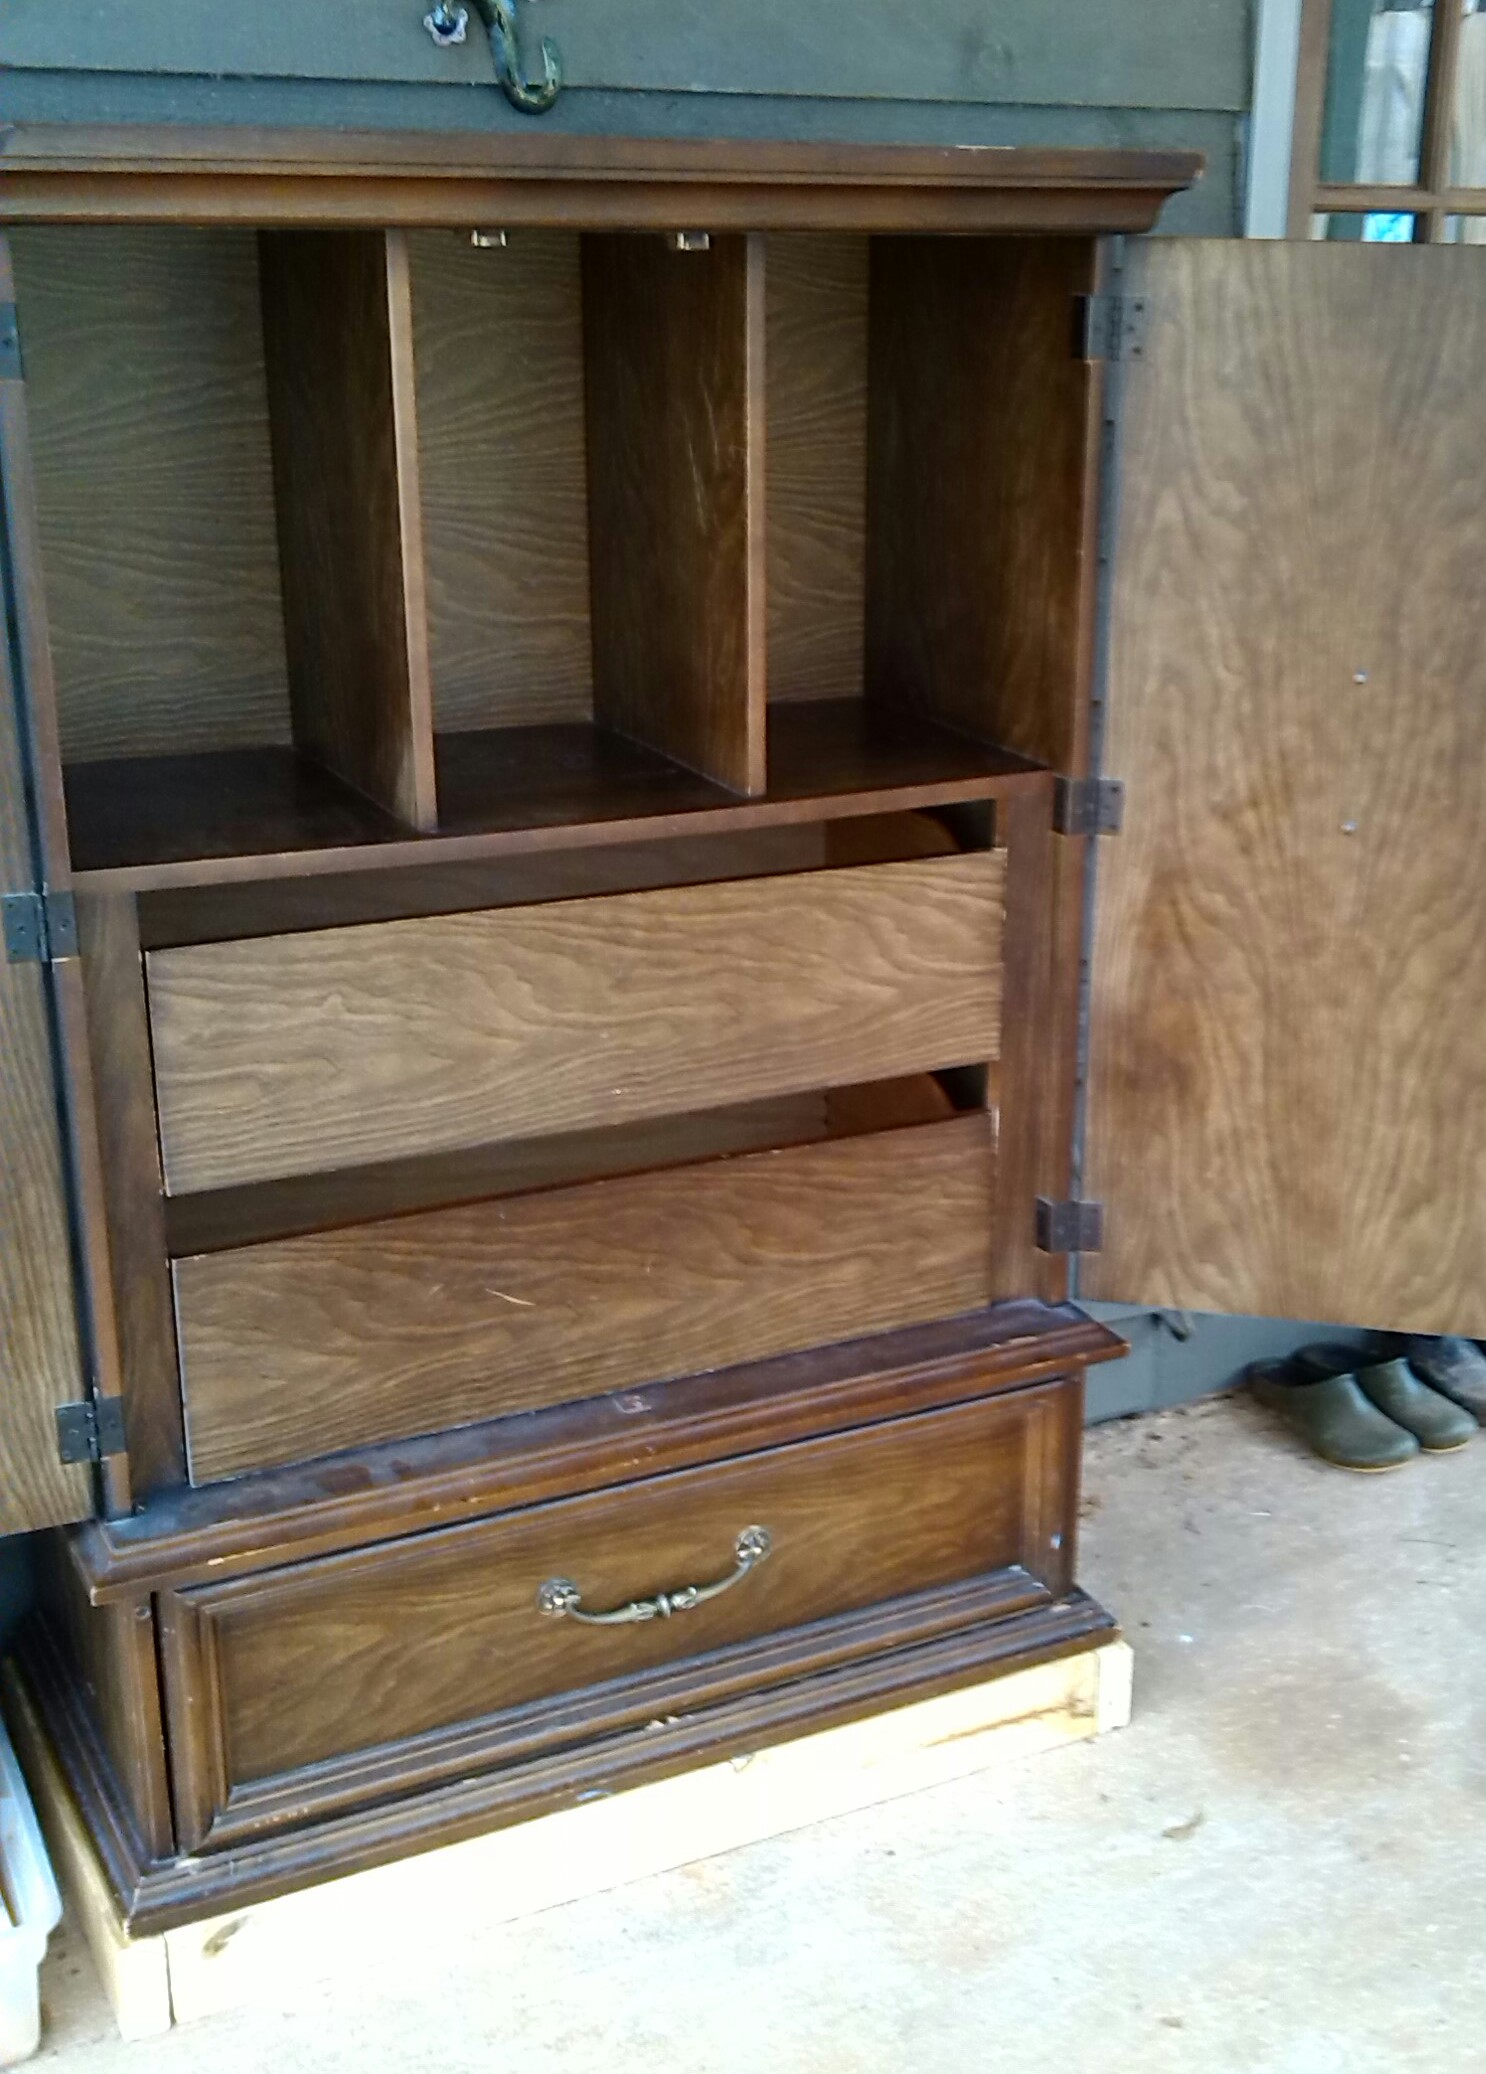 BAM! How can you NOT see nesting boxes?!
My husband couldn’t see the potential but I went with it anyways. I redrew the plans and then I got to work!
Here it is painted. Still ugly??????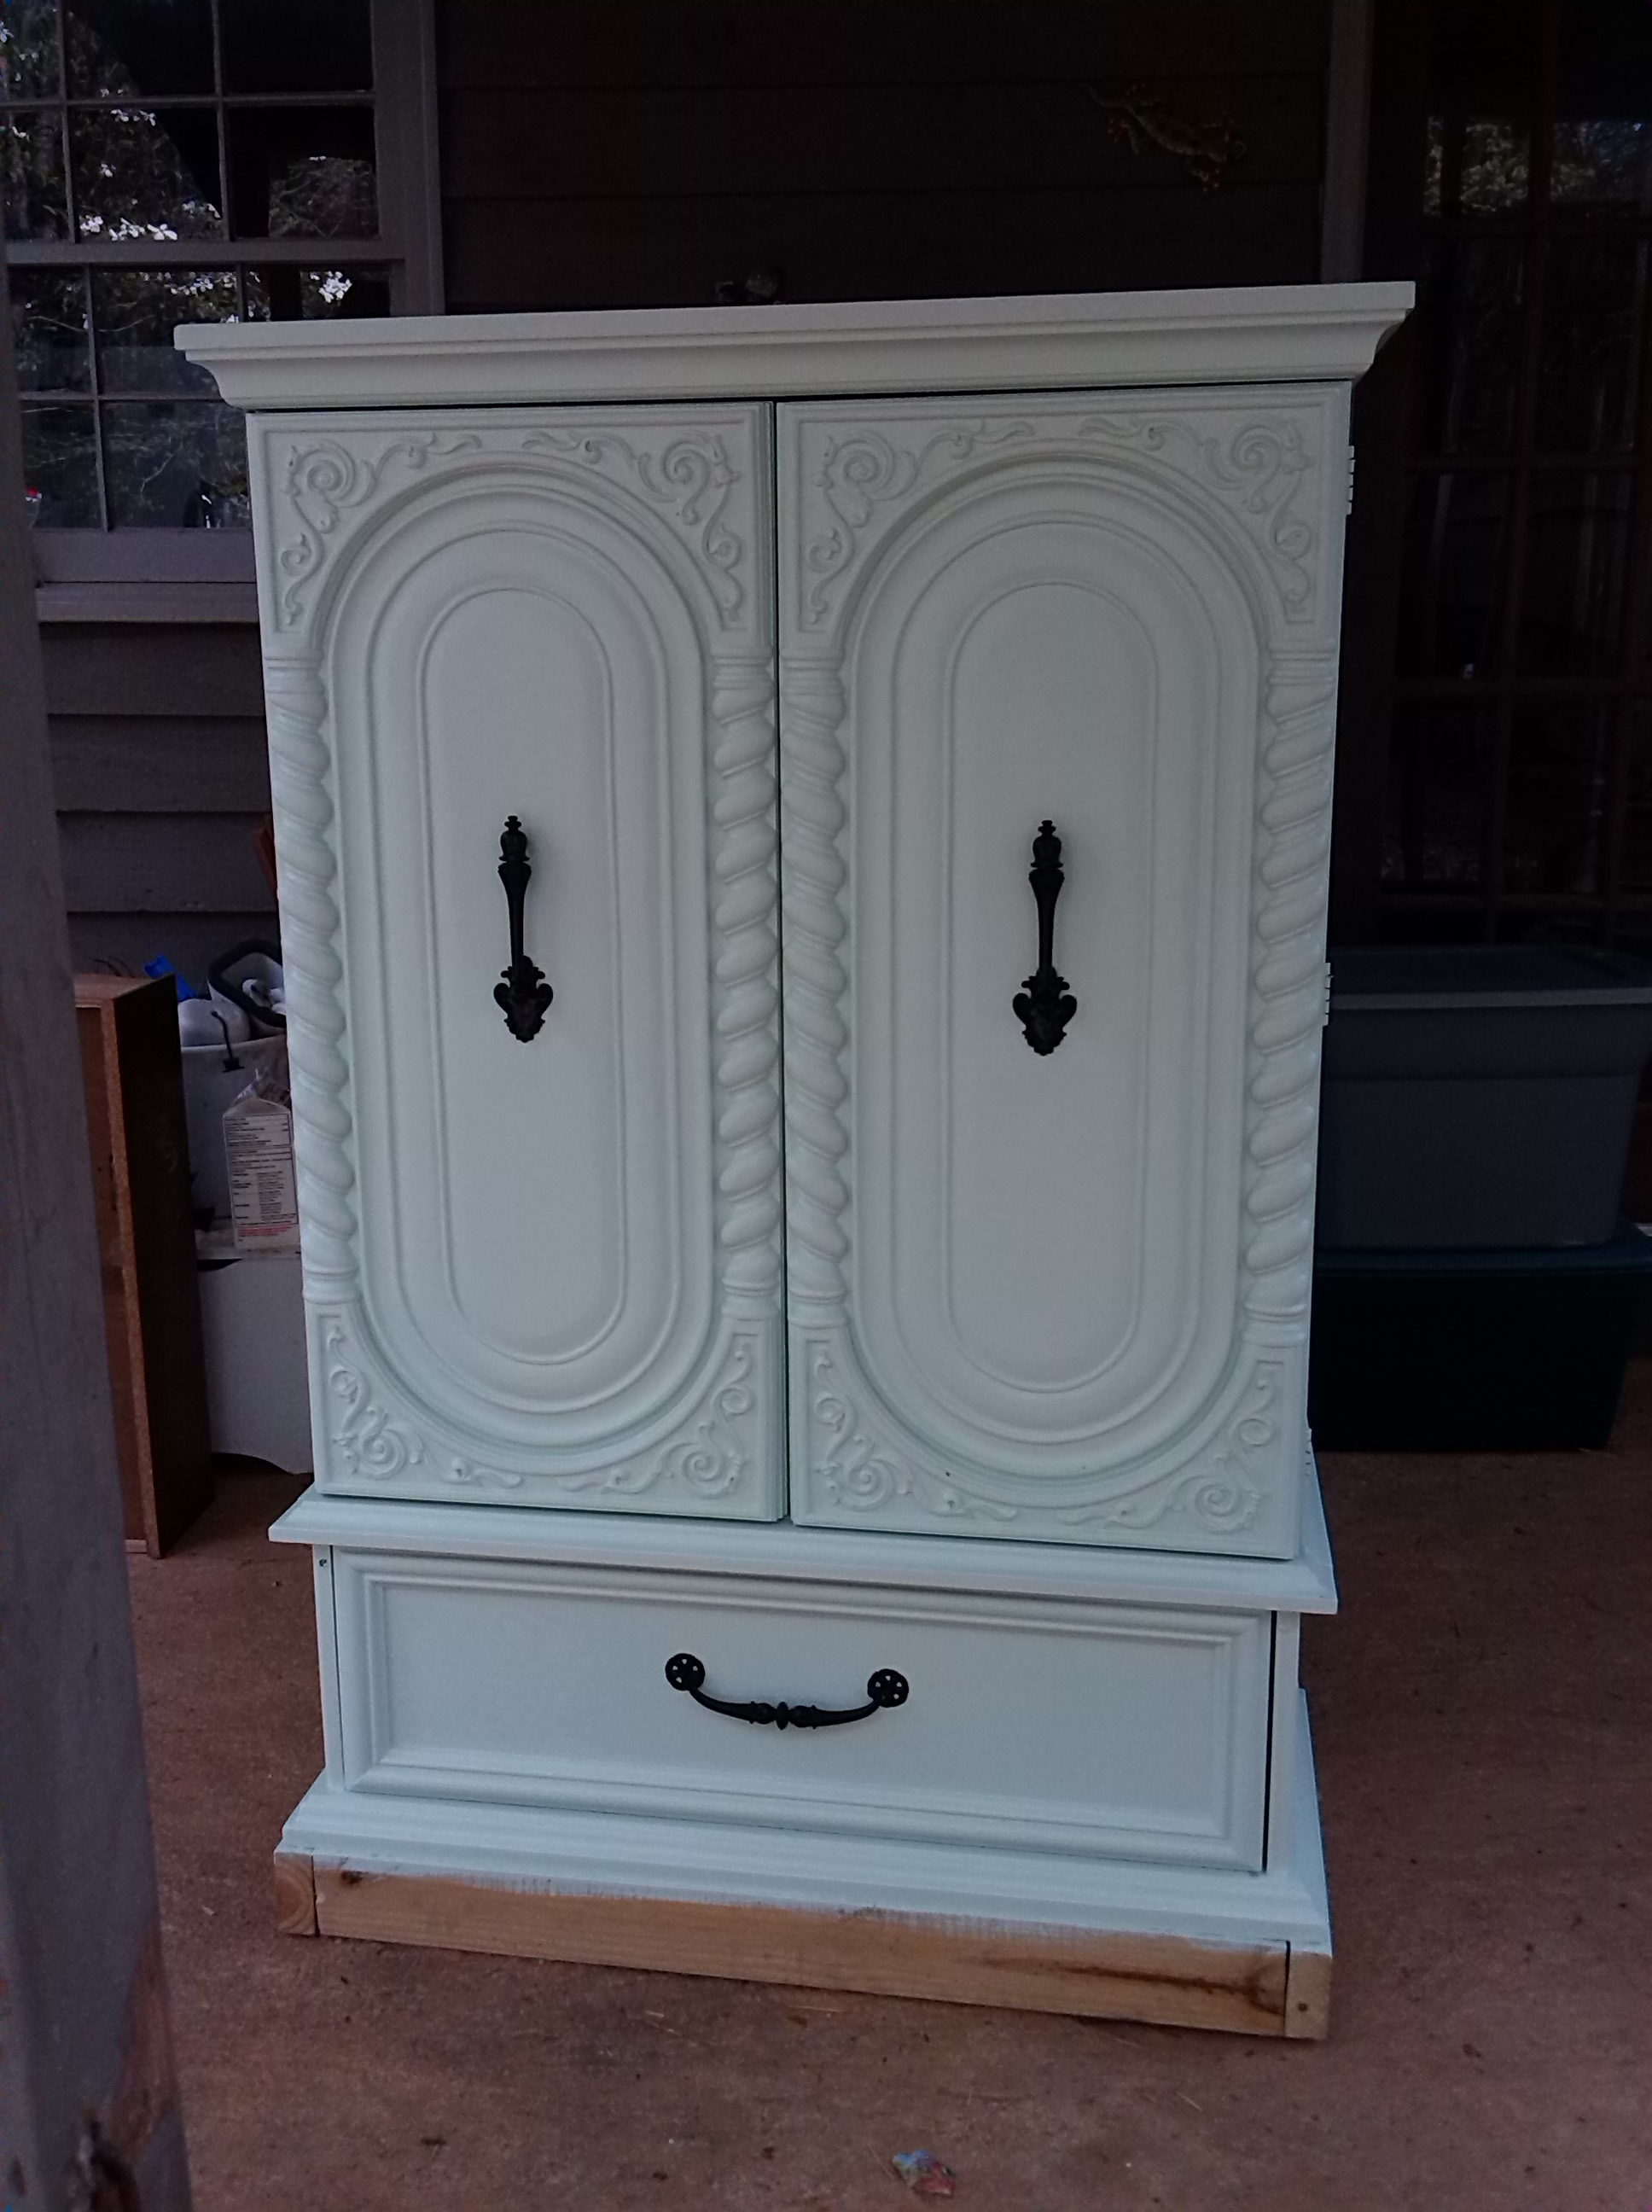
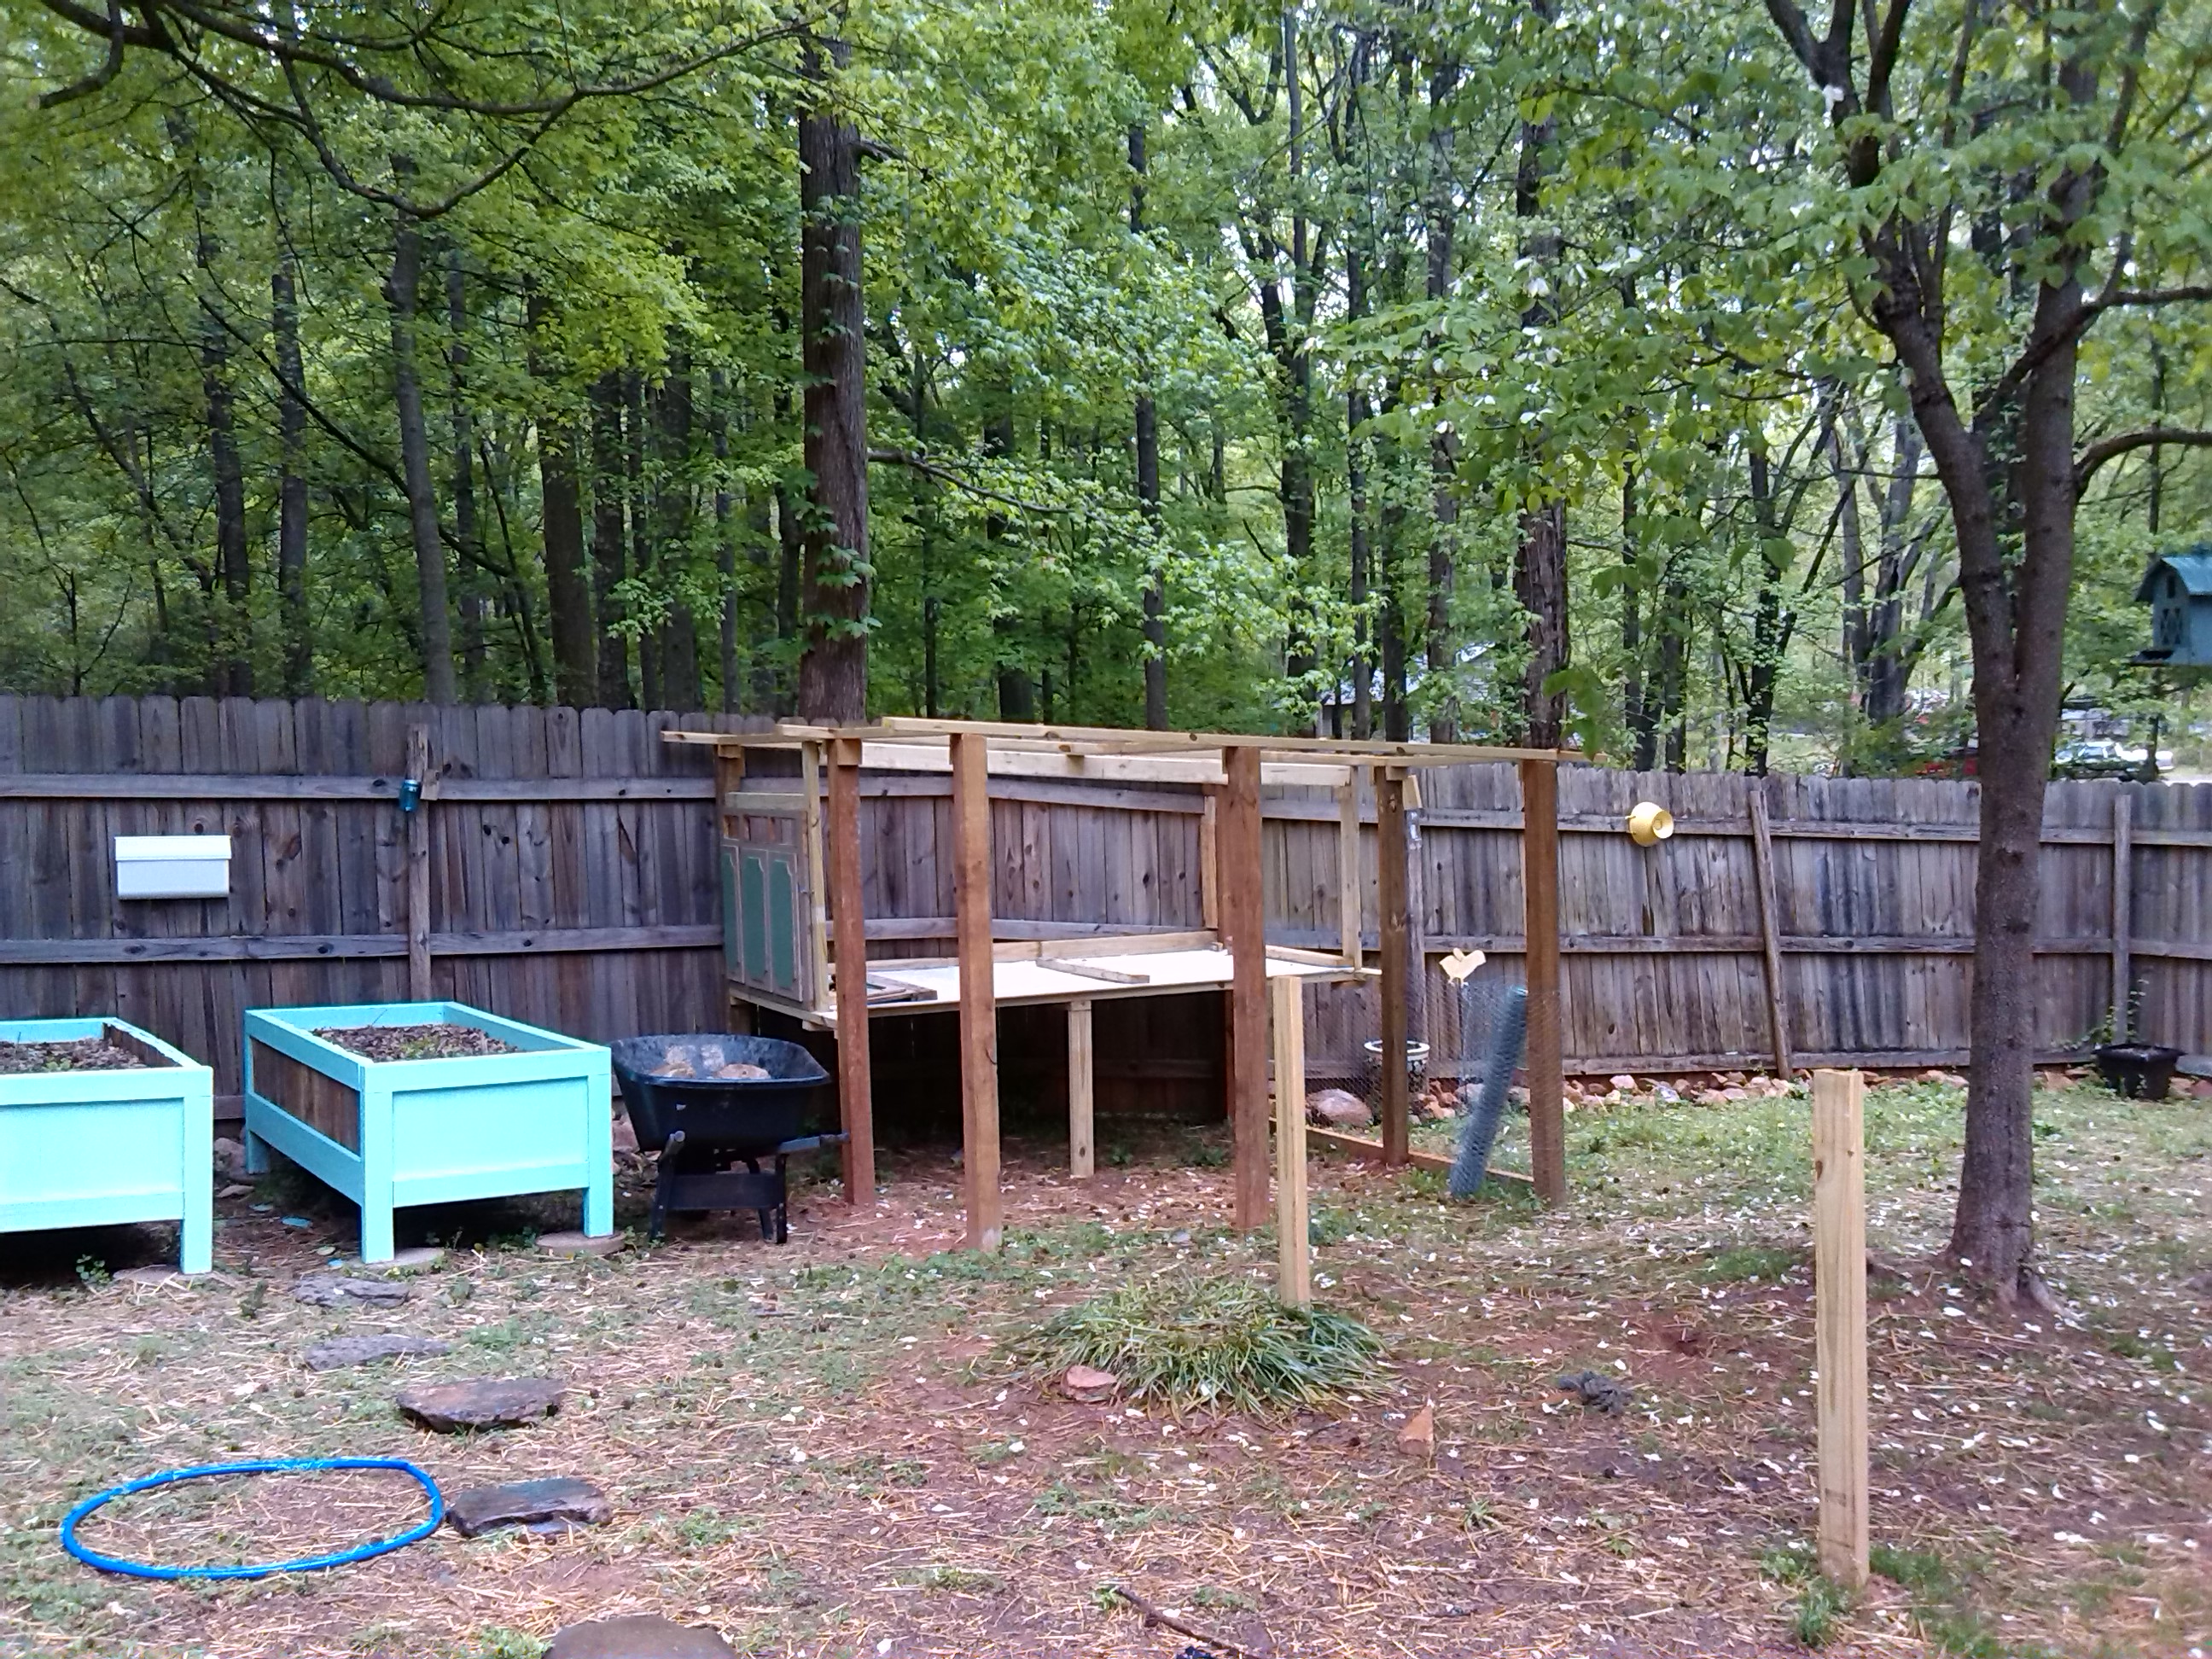
First things first, the foundation. I’m worried about predators around our homestead so I wanted my coop build up off the ground. I’m also, admittedly, cheap and decided that I wanted to use the fence as one of the walls of the coop (free wall!). These things helped me to decide that I wanted one roof for the entire coop and pen. Which gave me the base of my foundation.
I decided where I wanted to position the coop and installed the 4×4 posts. I had never installed posts before. I dug the post holes with a post hole digger, installed, leveled and braced the posts. Then cemented them in.

Proud of my post work.
I measured the pitch I wanted for the roof and marked the angels on the posts. My husband cut them for me. After that I installed the support beams for the roof and floor.
The next step was the floor of the coop. It took a little finagling (because I built it off a crooked fence) but I got it done.
Then came the walls. I had a few items I had been saving to use on the coop. I basically built the walls around the items. One was the face of an old kitchen cabinet I had found on the side of the road.
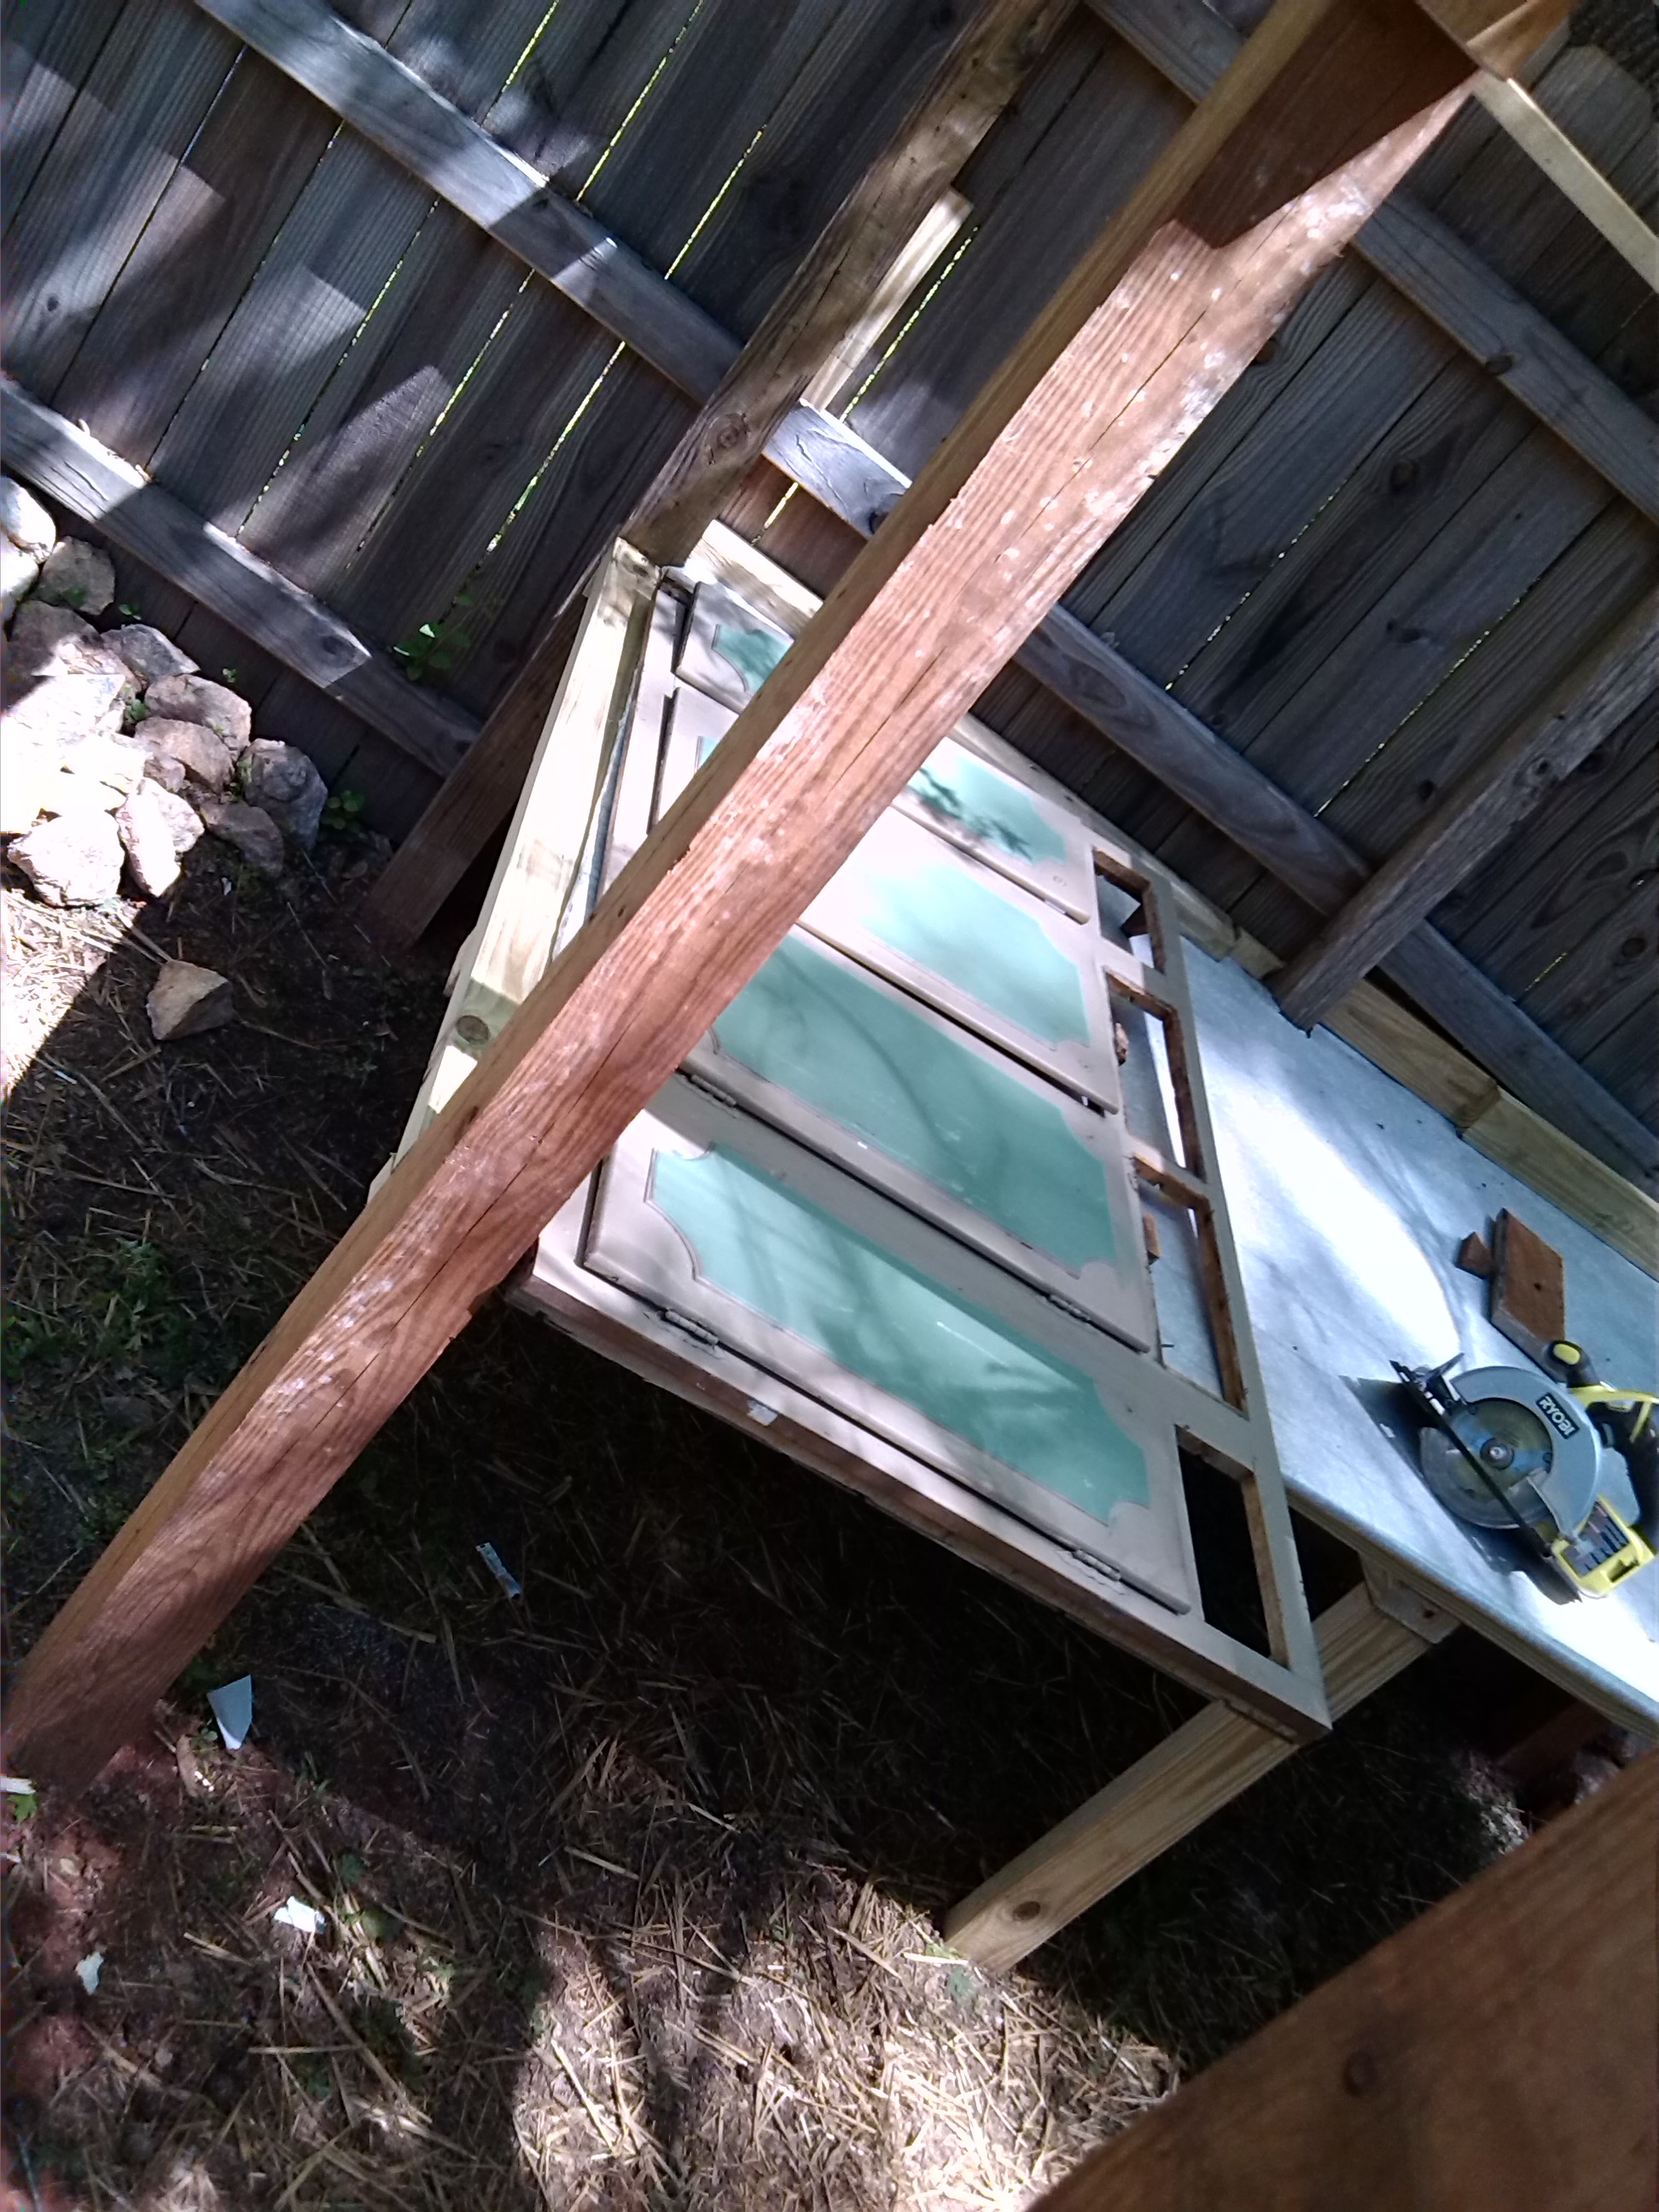
I measured the width of the cabinet and installed two 2×4 posts that width apart from each other, from the floor of the coop to the ceiling, where I wanted the cabinet positioned.
I decided to spend a little extra money to have a good roof over the coop. We live in a heavily wooded ares and I was afraid of limbs and branches falling on the coop. I also only want to build this thing one time, so a good roof will keep it dry and help it last longer.
The roof was special ordered and I had to wait for it to come in before I would install the cabinet. It took about 2 weeks but it was well worth the wait. I installed the roof in about an hour by myself. I siliconed the screws to make a water tight seal.
Finally, the cabinet was moved into place. I tacked trim, to both the cabinet and the coop, around the connection point.
After all 4 walls were solid I climbed into the coop and stapled in bright aluminum bug screen and then stapled 1/4″ hardware cloth over it. I was sure to use heavy-duty staples and hammered them in to set them nicely. I them checked for any protruding nails or staples that my birds could possibly hurt themselves on and set them as well.
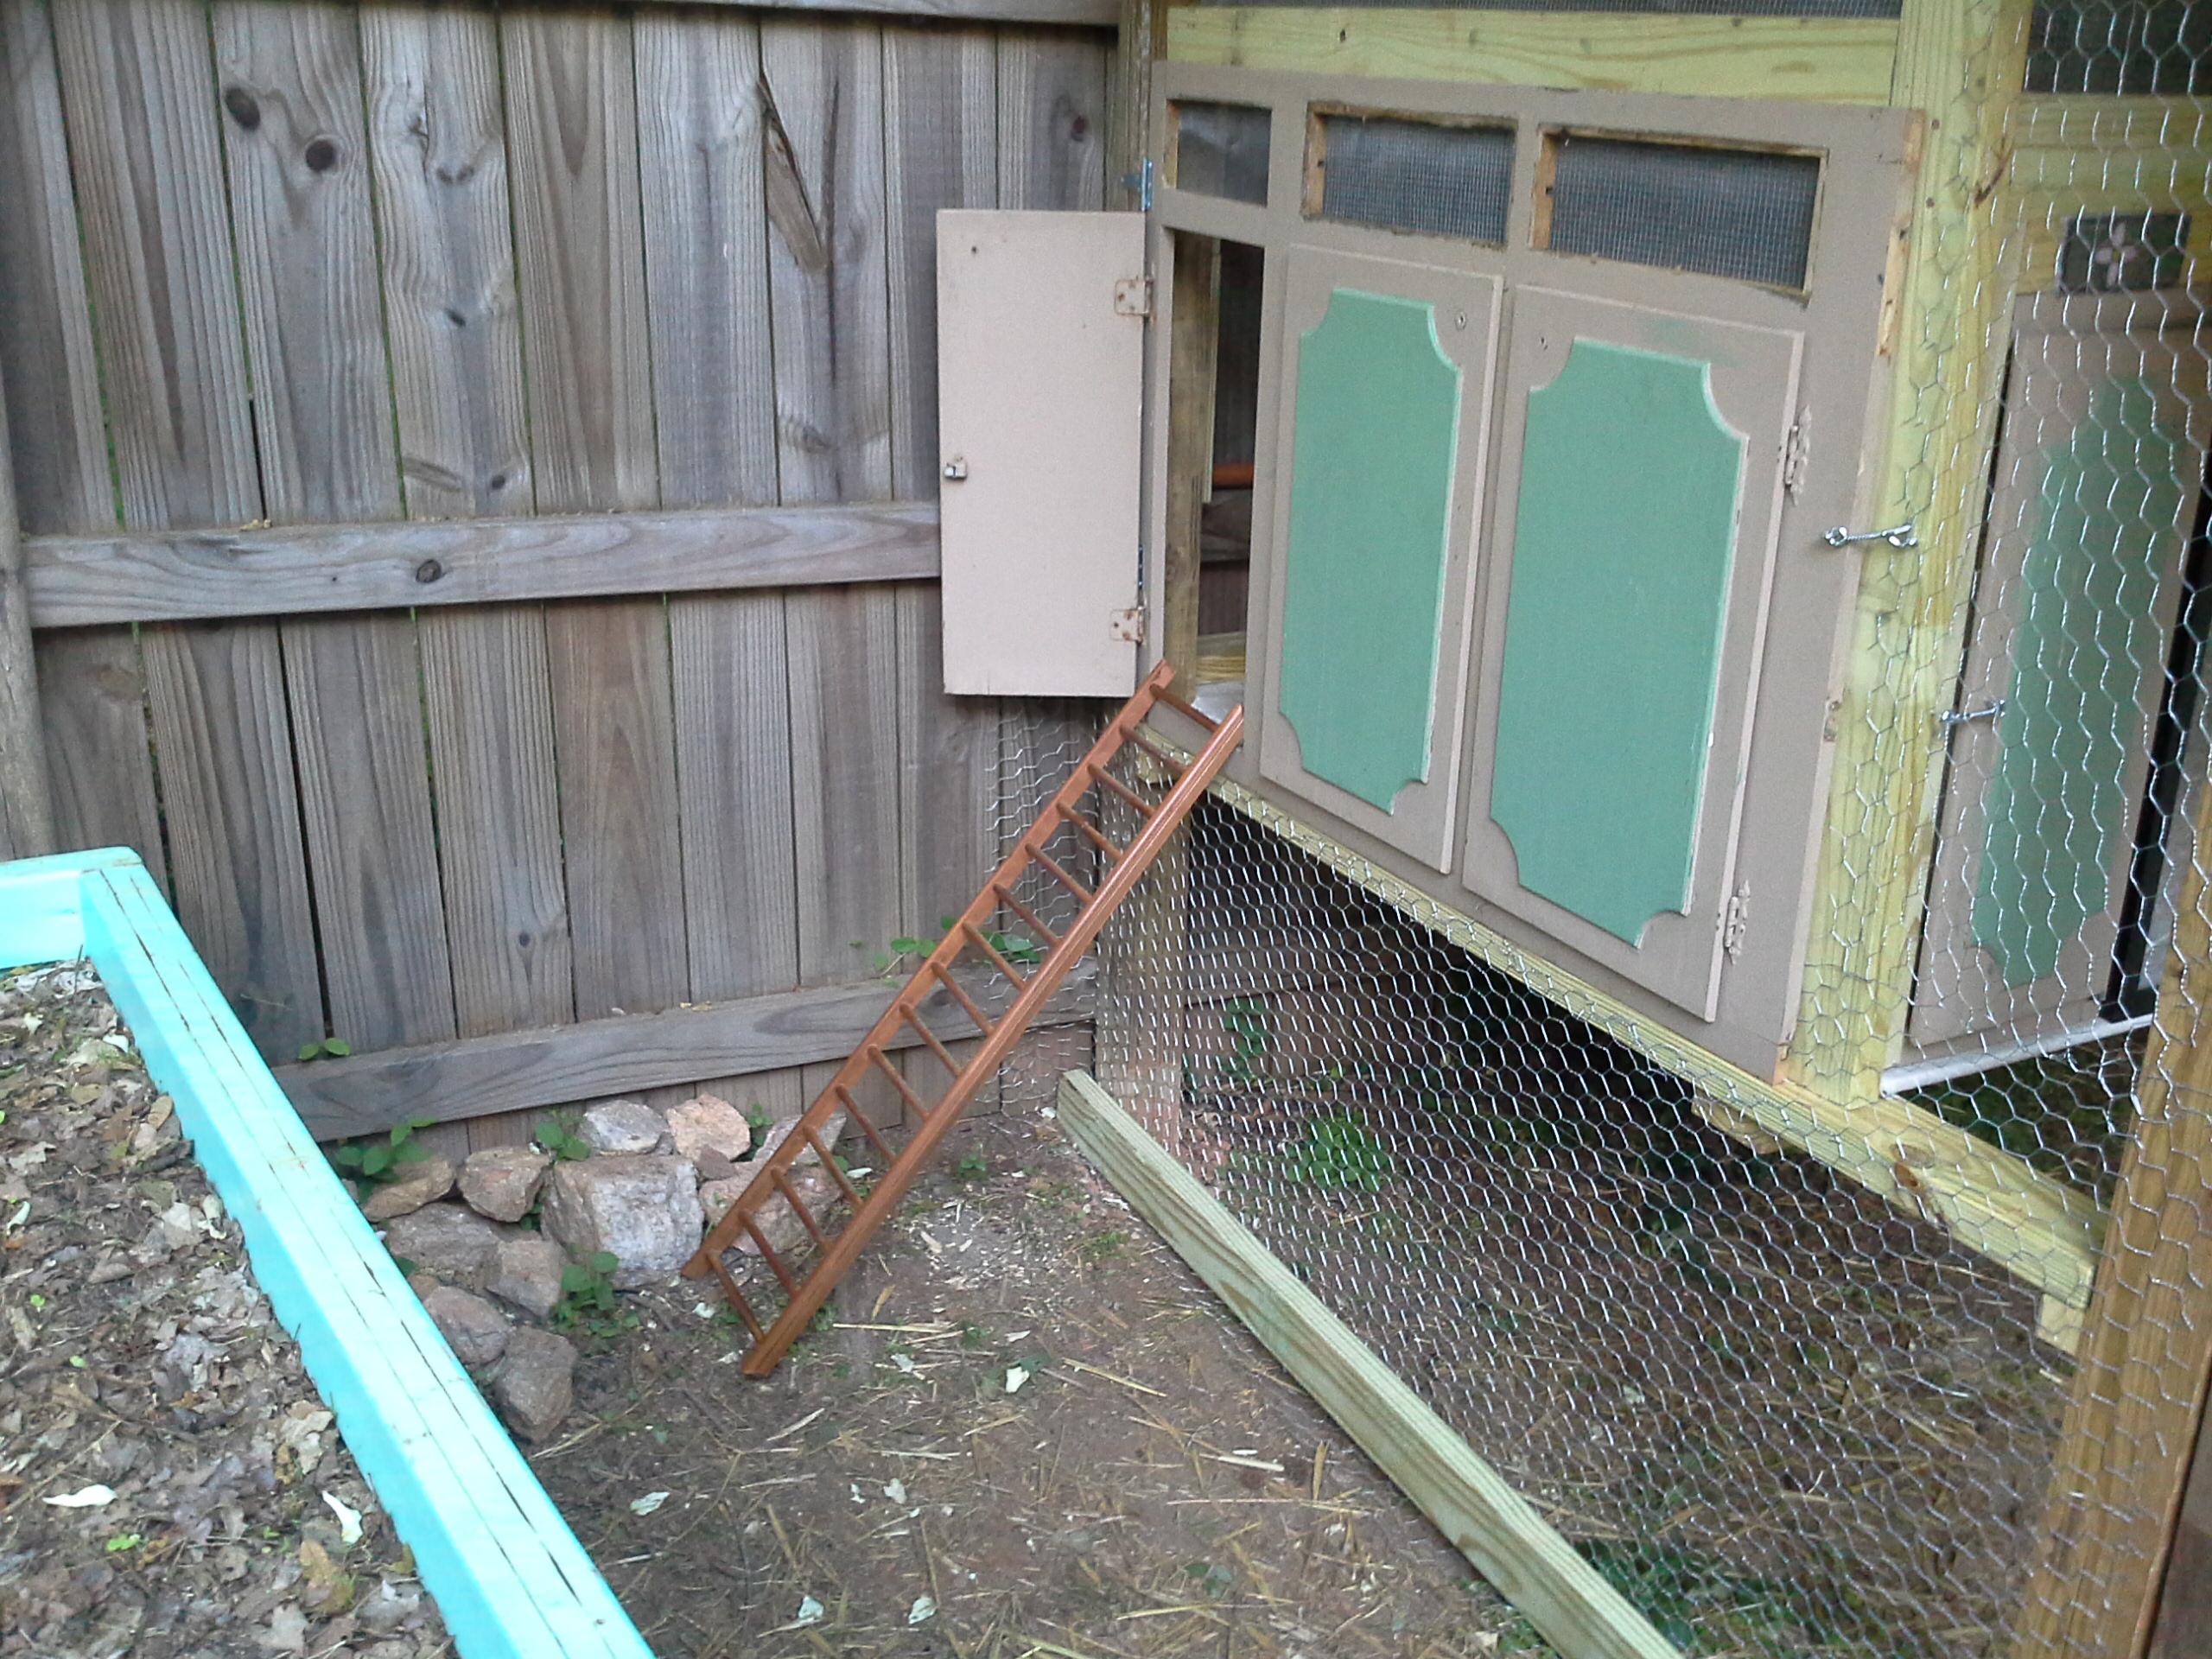
The final touches like safety hooks and a perch, for access to the nesting boxes, were added. As well as adding a door to the pen and enclosing the pen with chicken wire.
It took me about 2 weeks to build the coop and I have made a few improvements since then. This was a fantastic experience for me. I have always known that I could do anything I put my mind to. My Mom taught me that I was just as capable as any one else and I could do anything a man could do. But believing that and actually doing it are two different things. I built this coop entirely by myself (minus my husband cutting the 4×4 posts because he was worried I would hurt myself 🙂 ). It was hard work and it wore me out, but I did it. Now I feel like I can build anything! (Insert Super woman photo here!)

Front view

Left side
Left side optional chicken door
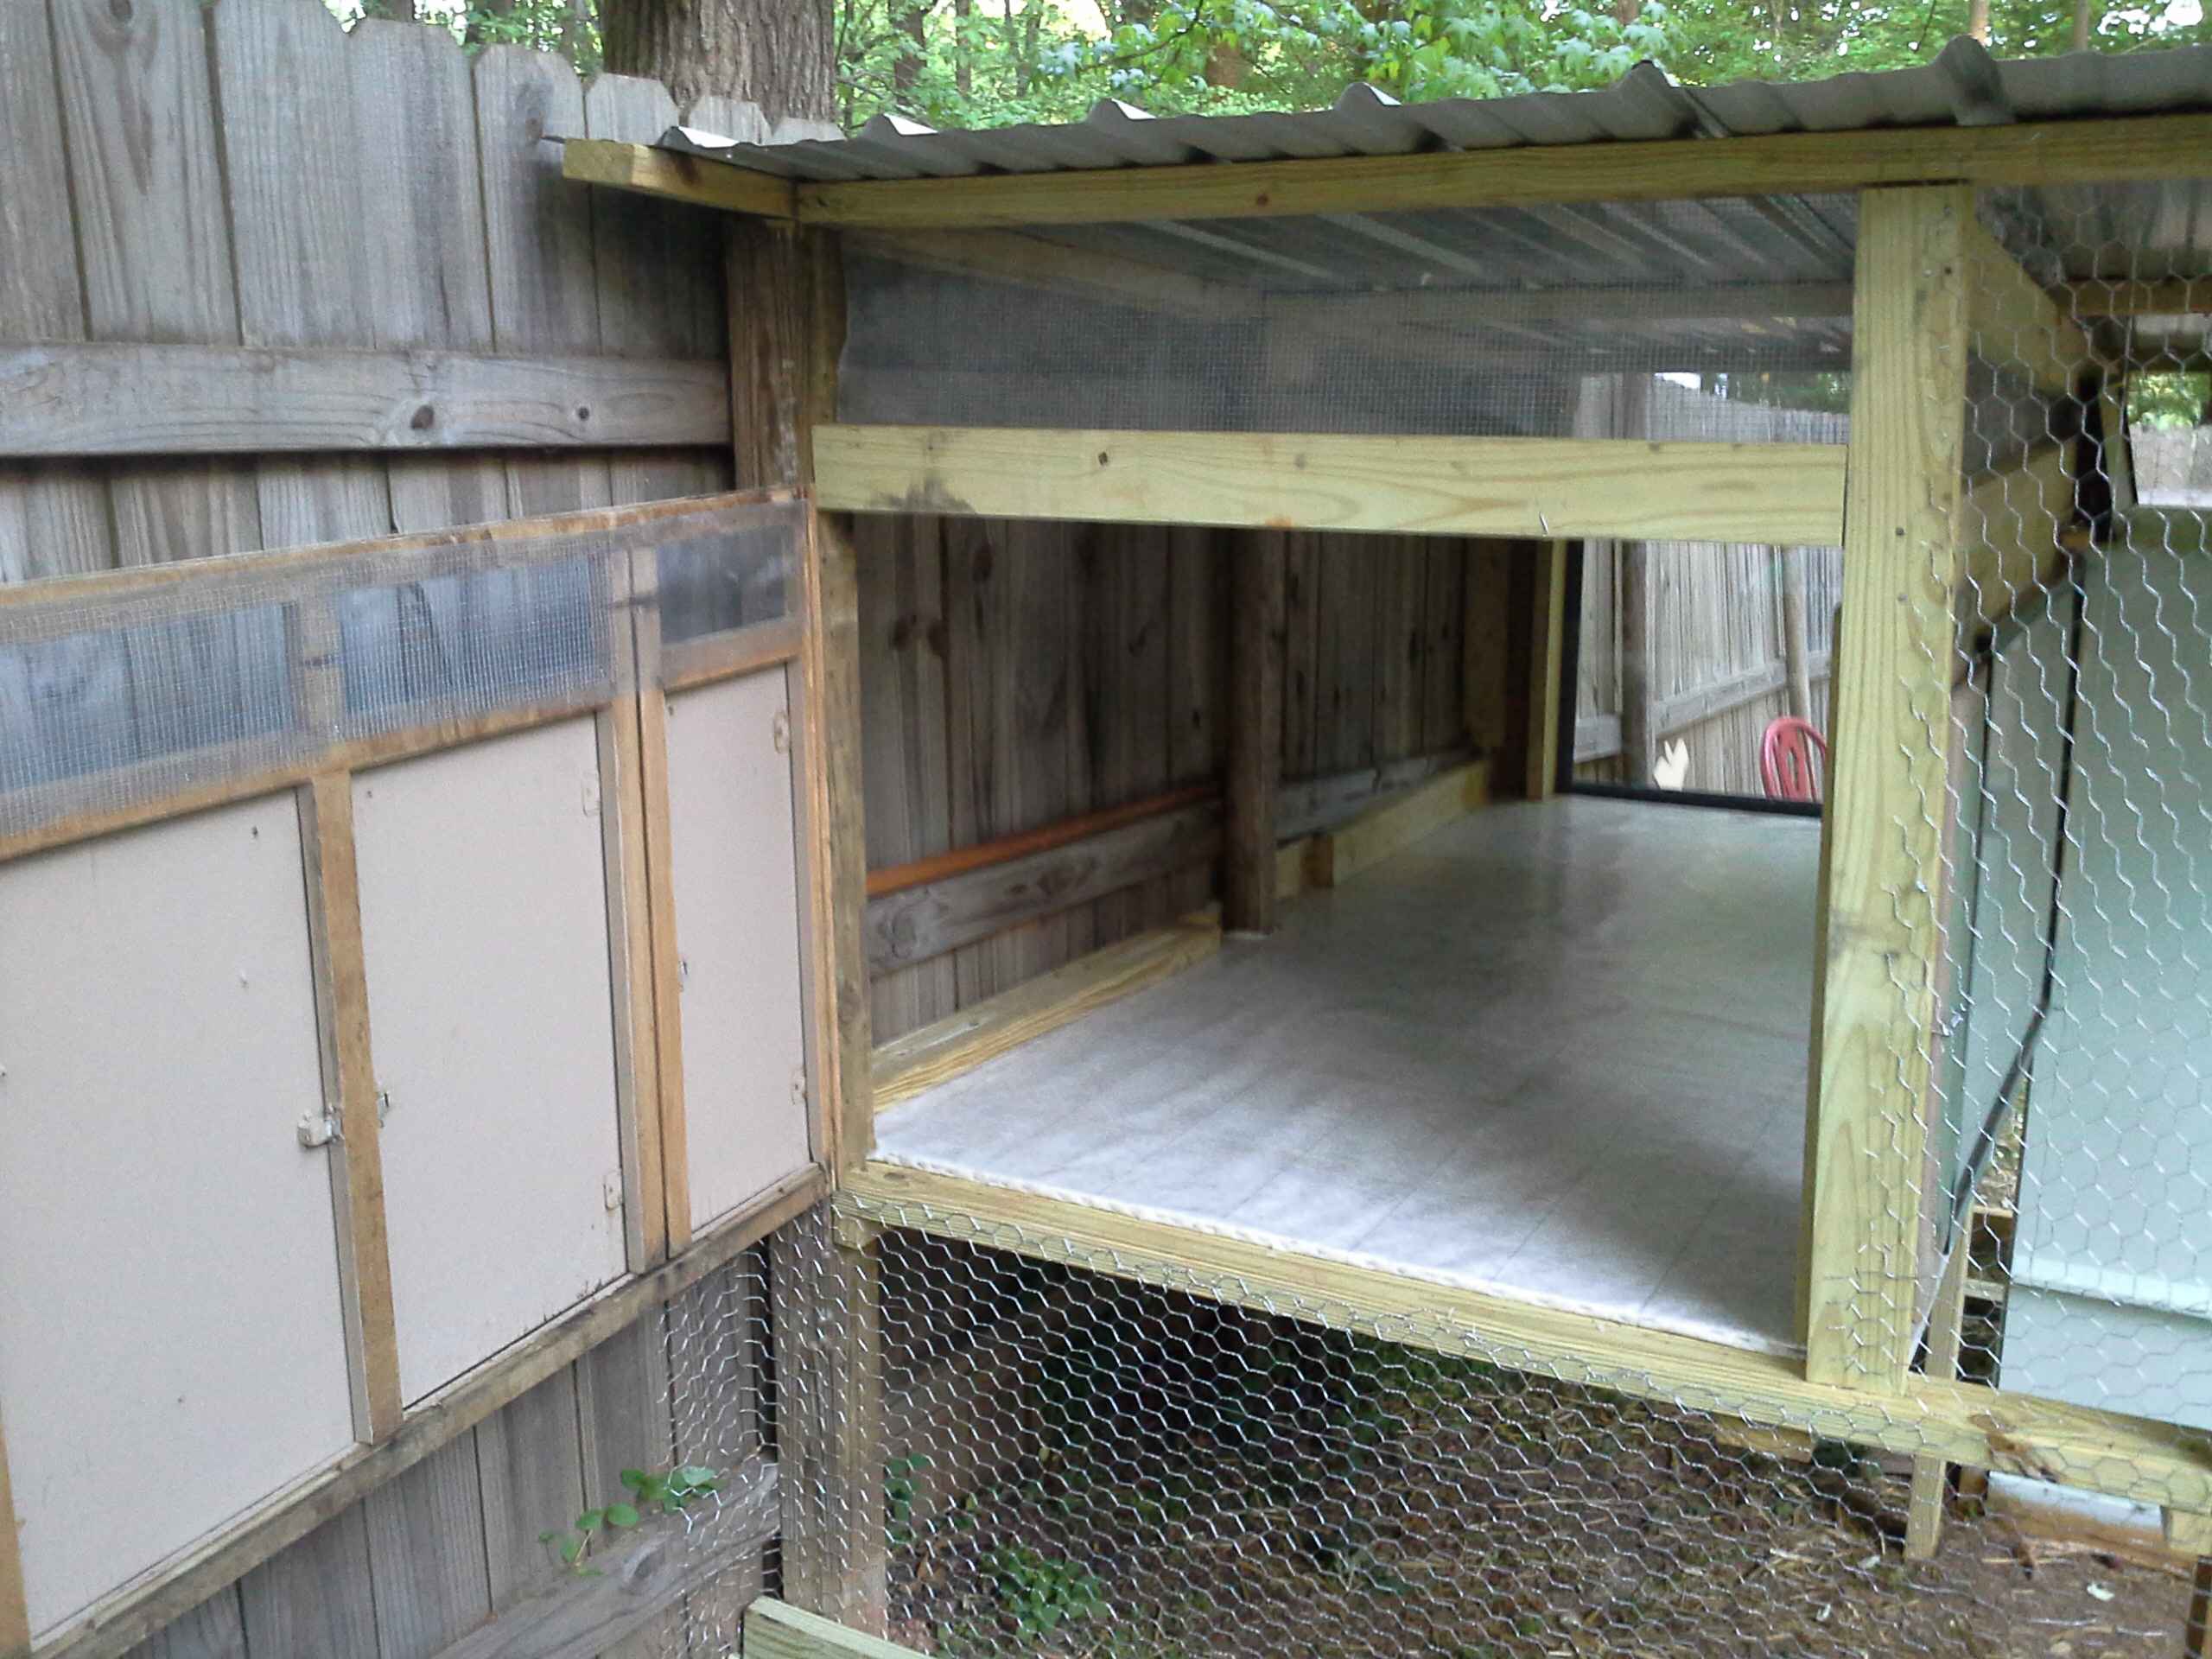
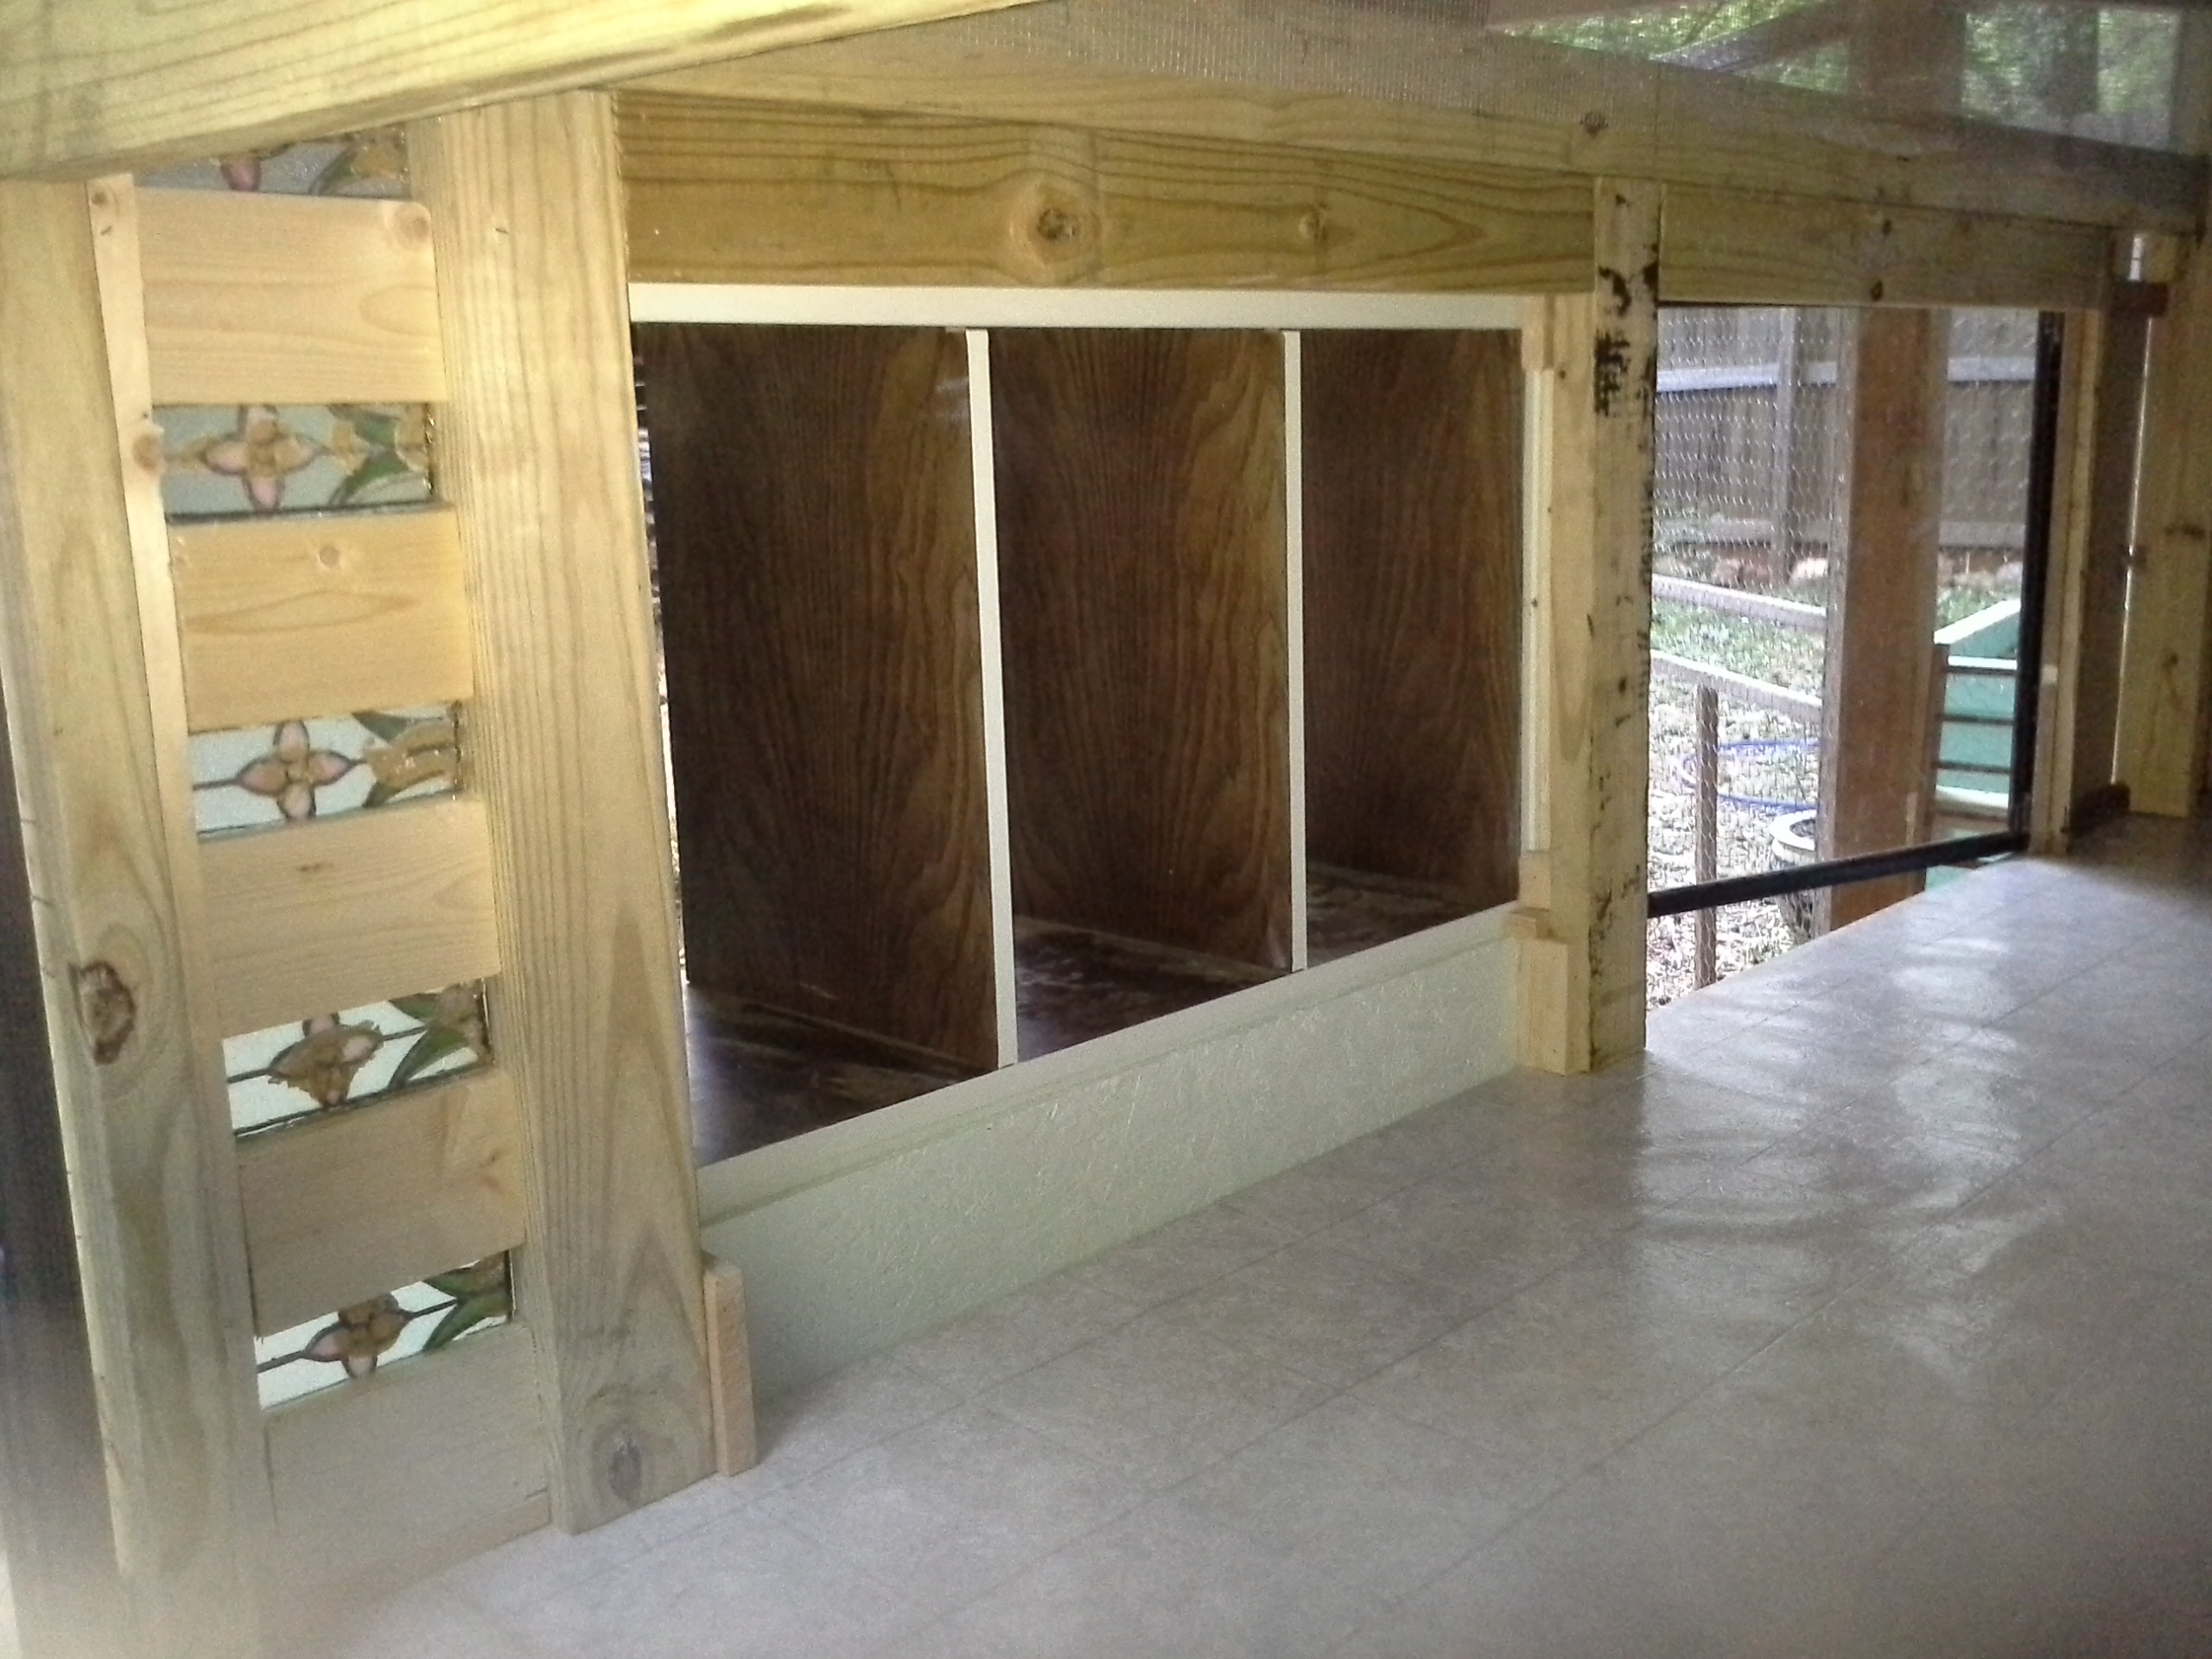
Left side door interior view

Observation window/center door

Chicken’s coop access door with stained glass above

Center chicken door/main coop access from pen

Center door/observation window

Right side door

Right interior view
No coop is complete without stained glass windows.

Happy chickens!
Do you have any questions on building a coop? I’m no expert BUT I FEEL LIKE ONE! 🙂

It’s beautiful! Well done!! Thank you for sharing with the Clever Chicks Blog Hop!
Kathy Shea Mormino
The Chicken Chick
Thanks for allowing me to share Kathy Shea!
Very well done. Im curious how you secured the chicken wire to the aluminum frame for the door.
Thanks J.
All the doors on the coop are wood. I just stapled the chicken wire.
Hi blogger, i must say you have very interesting articles here.
Your website should go viral. You need initial traffic only.
How to get it? Search for; Mertiso’s tips go viral